Kit tappo di scarico Harmony

Brand:Harmony

3.5/5

27.06

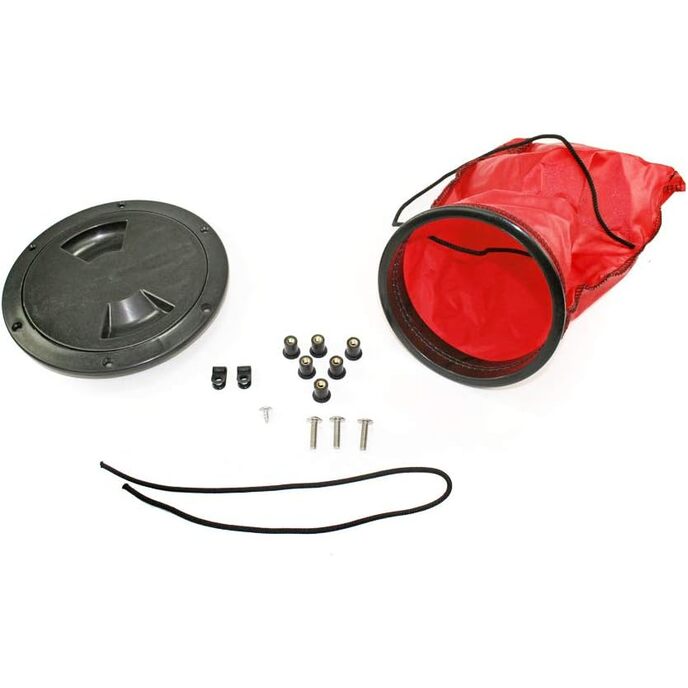
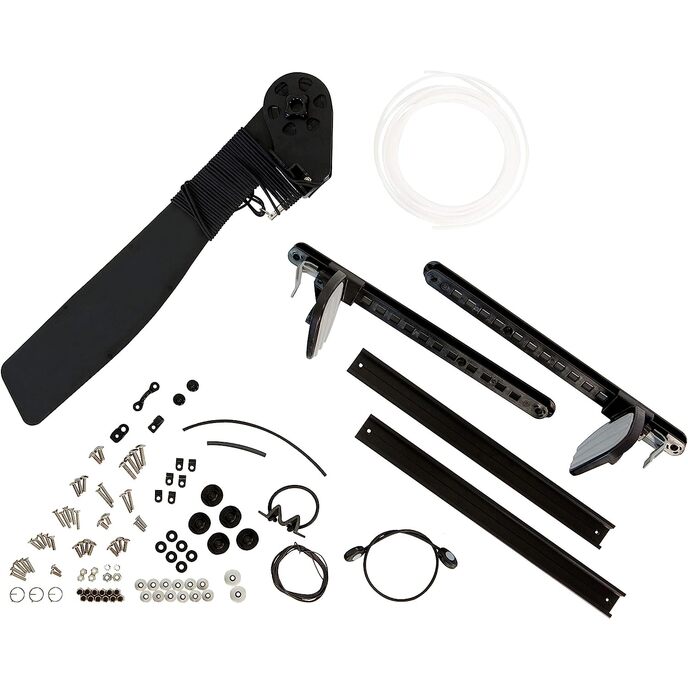
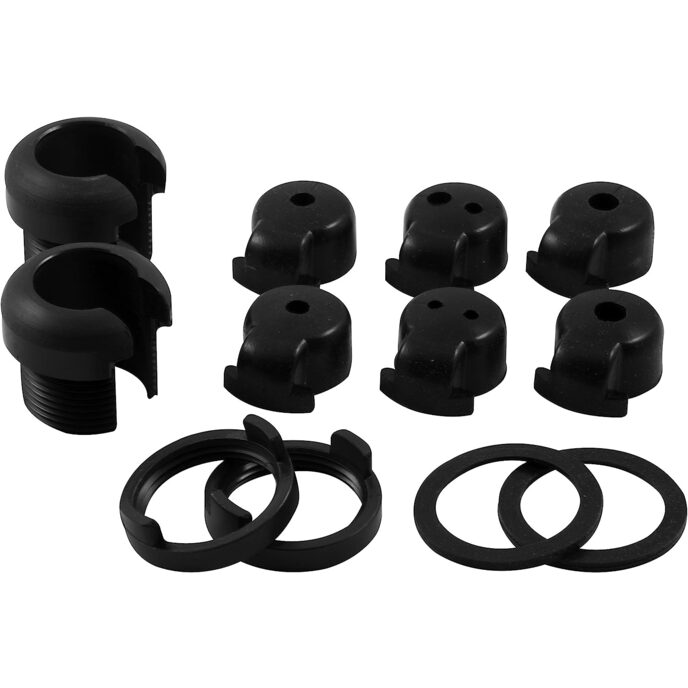
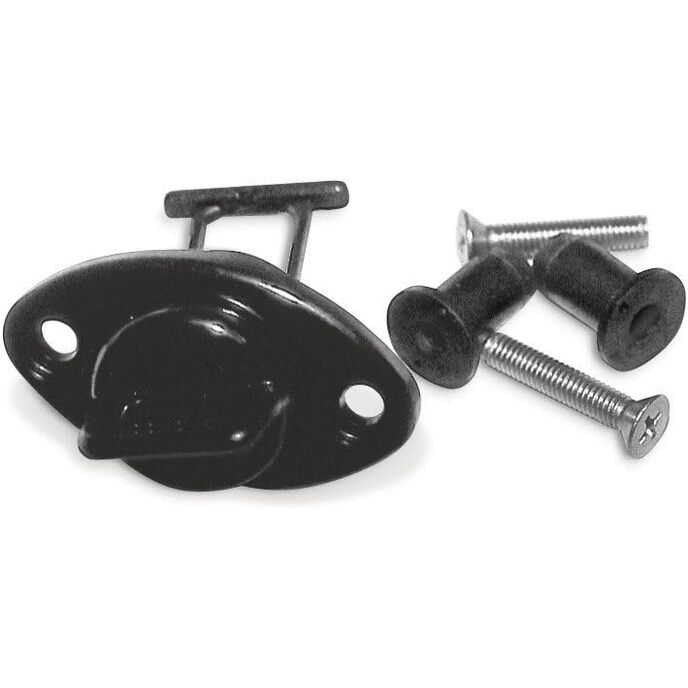
Il kit tappo di scarico Harmony è facilmente installabile e molto apprezzato in caso di necessità. Permette una facile rimozione dell'acqua intrappolata nella tua barca e può essere aggiunto a quasi tutte le barche. Include tappo di scarico, hardware e istruzioni di installazione.

Richiede la perforazione di 3 fori per l'installazione. Il kit include raccordo filettato, tappo e bulloneria. Adatto per kayak sit-in o sit-on-top. Tipo di sport: Kayak.
Brand Harmony
Brand Name ‎Harmony
Color Black
Color ‎Black
Customer Reviews 4.4 4.4 out of 5 stars 114 ratings 4.4 out of 5 stars
Included Components ‎Not applicaple
Item Dimensions LxWxH ‎1 x 1 x 1 inches
Item Dimensions LxWxH 1 x 1 x 1 inches
Item Package Dimensions L x W x H ‎4.9 x 3.7 x 0.2 inches
Item Weight 0.01 Pounds
Item Weight ‎0.01 Pounds
Manufacturer ‎Confluence Kayaks
Material Plastic
Material ‎Plastic
Model Name ‎8023044
Number of Items ‎1
Package Weight ‎0.1 Pounds
Part Number ‎8023044
Size ‎Screw Mount
Sport Type ‎Kayaking
Suggested Users ‎Unisex-adult
Warranty Description ‎1 year warranty.

3.5

8 Review
5 Star
63
4 Star
25
3 Star
6
2 Star
3
1 Star
4

Scrivi la tua recensione

La tua mail non sarà pubblicata. Tutti i campi obbligatori sono segnati con*

Scritto da: charles
easy to install, do nogt need underside access
Very easy to install. You do not need access to underside of the kayak surface to install. Clever design - the plastic nuts are inserted with the screws partly in through the top, they collapse behind the kayak surface when the screw are tightened holding the frame fast. It would be nice if that was made clear in the instructions. It does required a patch of flat surface for installation. My Pungo 120 did not have any at the front end, I mounted it on the side, next to the seat.
Scritto da: Brad
Please Read This Review
Sooo I had a learning experience with this purchase. Most of you, are probably more skilled at adding drains to your kayaks than I am, so this review is written for the beginners/first-timers like myself. I received a kayak with no drain. As we all know this is inconvenient when water gets into the bottom- which will inevitably happen. So the logical thing is to add your own drain. Brilliant. Sounds easy. Some things to keep in mind when beginning the process of adding your own drain. 1. Is that the location you want it? ---This is very important. Think about all your options. Would it make more sense to be placed in the front? Or what about the back? OR, if your kayak is like mine, would it makes sense to put it right behind the seat? My rear compartment is blocked off from the rest of the 'cabin' which is how most kayaks are. It might have been easier for me to add the drain there and just as effective. However I chose the front, because that is where I have seen the most drains. More about this issue below. 2. Do you have all the items you will need? --- Dont' forget your waterproofing gel! Also, when it says 1" drill bit. You have a few options. There were two I saw at Home Depot. A hole saw or one of those long flat ones. I decided to go with the long flat one, because the hole saw required an extra adapter piece. Drilling was a non-issue for me. This worked just fine. For the waterproofing get, I just purchased the one suggested along with the product. As far as I can see the gel will work perfectly. 3. Are the screws provided long enough? --- Unbeknownst to me, kayak hull thickness is relative. This is dependant on the location, brand, material, etc. The screws that were provided are slightly too short for the situation I am in so I need to purchase some longer ones. The location of my kayak, though logical, is actually not reachable when putting this drain plug together. You need to be able to reach the inside of the kayak at the location of the drains in order to get the rubber stoppers in place. Since the drain was placed at the front of the kayak I needed to go inside the front. This would have been no problem except there is a foam pad, probably for structural support, on the inside of the tip of the kayak inhibiting my reach. Now I am a tall guy, 6'3", and I still could not reach the point where I put the drain (I made a little picture for you down below). This poses a huge inconvenience because it is almost impossible to fit your finger in the drain hole to hold the rubber stoppers up to the screw holes. I tried using a paperclip to hold the drain plugs in place while screwing them in, after apply the waterproofing gel of course, but it was too weak. At the time I had no other ideas. But then I thought about using a hanger. One of those thicker metal ones. I have not tried this yet, but I think it will work. Good luck to all prospecting kayak drain adders! The location I chose: Front ..../\ .../..\ <--- Drain ../....\ ./......\
Scritto da: R Kepler
Good product, poor service
The drain plug came on time. It's well made and works as it should. My problem came as I was looking for one of the washers. I don't recall what it's called, but it's the small black part seen in the pictures. I couldn't locate it, so I found Harmony online and called them. The first store didn't have the part in stock and gave me another contact, this one in Texas. All persons I spoke with were great. The second store didn't have the part, but the gentleman assured me that he'd make "an executive descision" and find one for me and send it without charge. Great, right?! The only problem is that the part never came. What seemed to be great customer relations, wasn't. I should add, somewhat sheepishly, is that I eventually found the part jammed into the larger piece. Oh well.
Scritto da: ZJ DEADMAN
It is a drain plug
It’s a drain plug.... just double check you put it in a good spot and if you open it up it doesn’t fall out
Scritto da: Stephen R
Quick Install, Works
Kayaking on the lake without a skirt on meant that an occasional wave would get inside the boat. WIthout a drain plug, it was tedious to empty and would often add water weight when carrying the kayak back from the dock. This makes it easy to empty water from the stern. The install was easy - and I didn't even have the proper bits - I just used the 3/8", worked it around, and then used a sanding dowel to widen it.
Scritto da: A
Fits like a charm
I lost my old town vapor kayak plug and this threads on perfectly! Happy paddler
Scritto da: Rod A.
Good replacement plug
I have the Old Town Vapor 10 kayak. Great boat! Except for the placement of the drain plug. This option was easy to install and now I can fully drain my kayak. The existing plug is useful for a cable lock. One tip: I did not feel comfortable with the exsisting hardware. I couldn't reach far enough back in my boat to get behind the hole I drilled. I just used small butterfly wall anchors intended for sheetrock and put silicone sealant around the hole.
Scritto da: RubiconRider
Hooray! They fit our Pelican brand kayaks!
We have two Pelican brand kayaks and lost the drain plugs after a couple of seasons. The OEM replacement plugs were discontinued on Amazon so I took a chance on these. These plugs were able to fit the holes in the Pelican kayaks, but you really have to push down hard as you turn them. The other hardware that came with the plugs were useless in my application and went to the trash.

Prodotti correlati

Scopri il nostro network internazionale

Spediamo in 28 paesi, oltre 200.000 prodotti. Resta aggiornato, iscriviti alla newsletter.

Shopping Cart