Parti/apparecchiature di ricambio OEM
EAN: 0894714001046
Categories: Elettronica, Convertitori di potenza,
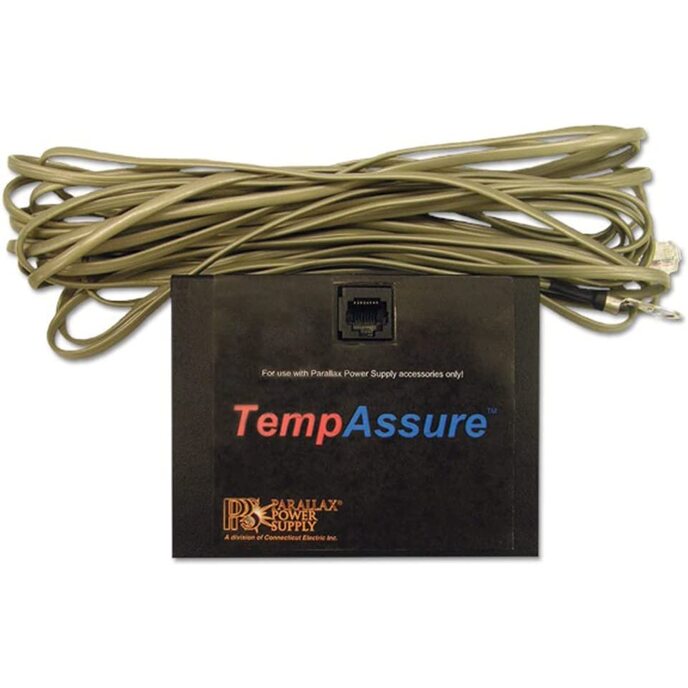
| Brand | Parallax Power Supply |
| Brand | Parallax Power Supply |
| Compatible Devices | Personal Computer |
| Country of Origin | Mexico |
| Customer Reviews | 4.6 4.6 out of 5 stars 17 ratings 4.6 out of 5 stars |
| Item Dimensions LxWxH | 5 x 0.7 x 3 inches |
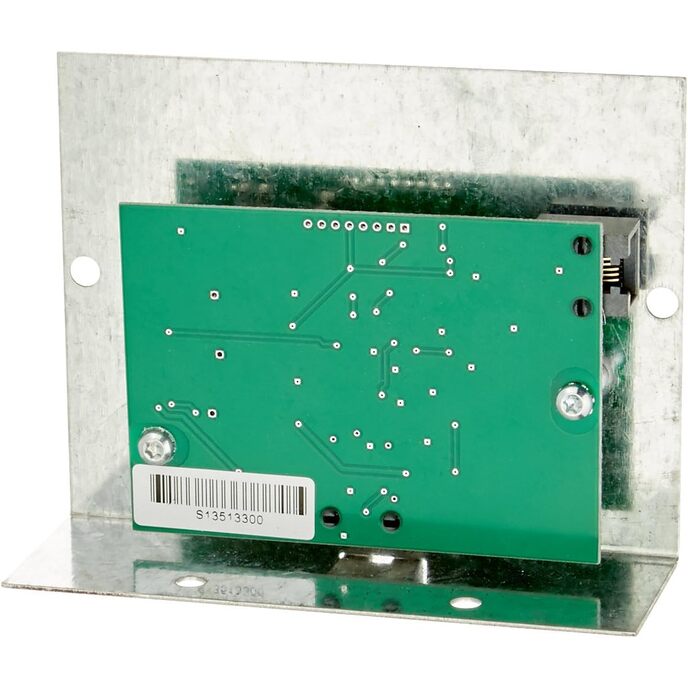
| Item model number | 4400TAU |
| Item Weight | 0.54 Pounds |
| Item Weight | 8.6 ounces |
| Manufacturer | Parallax Power Supply |
| Manufacturer Part Number | 4400TAU |
| Model | 4400TAU |
| Model | 4400TAU |
| Product Dimensions | 5 x 0.7 x 3 inches |
| Wattage | 13.46 watts |
| Wattage | 13.46 watts |