Accessorio per yogurtiera Euro Cuisine GY4, trasparente

Brand:Euro Cuisine

3.5/5

44.99

Euro Cuisine ha ideato un modo per aggiungere altri 7 barattoli di vetro. Le possibilità diventano infinite. Puoi preparare una partita del tuo yogurt preferito. Oppure puoi creare diversi barattoli di più gusti. Si prega di aggiungere un solo livello per unità poiché la temperatura varia troppo aggiungendone di più. Yogurtiere, vasetti di vetro e accessori per la preparazione dello yogurt sono venduti separatamente.

Lavabile in lavastoviglie. Coperchi senza BPA. Barattoli di vetro extra venduti separatamente. Raddoppia la capacità delle yogurtiere Euro Cuisine aggiungendo un secondo livello di vasetti di vetro.
Brand Euro Cuisine
Color Clear
Customer Reviews 4.5 4.5 out of 5 stars 346 ratings 4.5 out of 5 stars
Department Cookware
Included Components Expansion Tray
Item model number GY4
Item Weight 0.85 Pounds
Item Weight 13.6 ounces
Manufacturer Euro-Cuisine, Inc
Material Glass
Model Name GY4
Product Dimensions 9.75 x 9.75 x 3.5 inches
Special Feature Electric Stovetop Compatible

3.5

8 Review
5 Star
76
4 Star
9
3 Star
7
2 Star
2
1 Star
6

Scrivi la tua recensione

La tua mail non sarà pubblicata. Tutti i campi obbligatori sono segnati con*

Scritto da: madam x
Top tier doesn't set as well
I've tried making 2 layers twice. I followed the instructions and added 2 hours to the time. Still, the top layer was of a drinking yogurt consistency, and the bottom layer was not as solid as one is used to. I have made yogurt for years in Europe. First in a utility room where the ambient temperature was sufficiently high. I just left all my jars overnight and they were nicely set the next morning. Then later I got a 6 small jar-electric yogurt maker and left the jars there for 14 hours. Also OK. I never boiled the milk using mostly 2% long-life milk. Full cream milk and fresh milk also worked but the cream settles on top. I warmed the milk in a saucepan until it was tepid. I stuck my finger into the warming milk and when I couldn't feel my finger, then it was ready to be poured into the jars into which I previously had poured some yogurt starter. I never bought any special starter using any plain yogurt mixed with some of the warmed milk. After 8 hours, I had expected to see moisture on the top plastic lid of the second tier. I noticed this moisture (condensation as mentioned by the manufacturer) when using only one level. But there was no condensation! As mentioned, the top layer was much less set than the lower level after 8 hours. After reading all the 2 tier issues related to the temperature of the top layer, loss of heat from the top layer, and transmission of heat from the heating element, I decided to try using only 12 glasses for 10 hours leaving out the middle ones, figuring that the heat could better climb up to the top jars. The result was even worse than with 14 jars. I used 2% Aldi milk and I didn't measure the milk temperature. But the ambient temperature of the kitchen was much lower on the second try. (Cold winter spell had hit). So after further reading, I decided next (3rd) time to use my fever measuring thermometer (don't have a kitchen one) and heat the milk to 105°F (40°C), and cover the entire two-tier unit with the box made from the yogurt maker packaging (see photo). I'll still leave the 14 jars for 10 hours using 2% milk and add an update. There must be a way to get all the factors just right. UPDATE: I tried again using 2% Aldi milk heated to finger warm as I had no suitable thermometer. The starter yogurt was a mixture of my own homemade and fresh Dannon full-fat yogurt (about 8oz for the 14 glasses). I placed two clear shower caps over the top lid and then the box in the picture. I set the whole thing to 10 hours. After 10 hours I switched off the current but left the box for another hour. The bottom 7 glasses were much warmer than the top 7. The top yogurt was still less set than the bottom. After leaving everything in the fridge overnight I tasted both. More tart than when using less time. All were still drinking yogurt consistency with the top glasses being more fluid than the bottom glasses. I have decided to return the top accessory plus the 8 extra glasses which together cost about $30 as the results are not satisfactory. I saw the same new yogurt maker for $10,50 at a Salvation Army resale place. I have been told by my electrical engineer husband that the amount of current using two machines both running for less time (6 -8 hours) is insignificant.
Scritto da: EHS
Lets me make a double batch
I bought this (along with an extra set of the glass jars) so that I could save time and and effort by making a double batch of yogurt. I have been using the EuroCuisine yogurt maker for several years and love not only saving money by making my own yogurt but being environmentally responsible and not putting a bunch of plastic yogurt containers into the environment. The glass jars are also healthier for me than eating out of plastic. I also get to control the consistency of my yogurt by simply adjusting the time setting. Win win win win. One small thing that is inconvenient about this item is that if you wash it (I rinse mine every time I use it) it is a bit challenging to dry it right away with a towel. I generally allow it to completely air dry and then store it back in its box. I would not downgrade my rating for this. I definitely recommend this entire yogurt making system and this extender if you want to increase your batch size.
Scritto da: Xiaochao Zheng
A little analysis
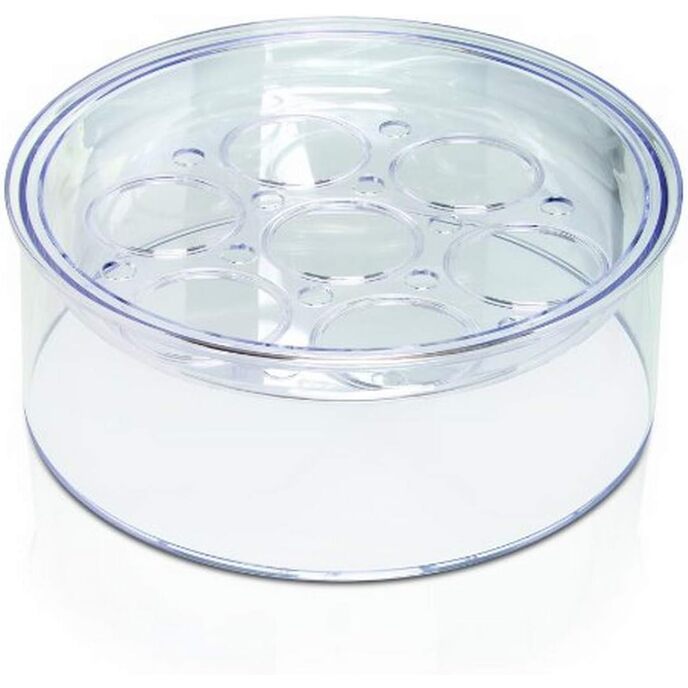
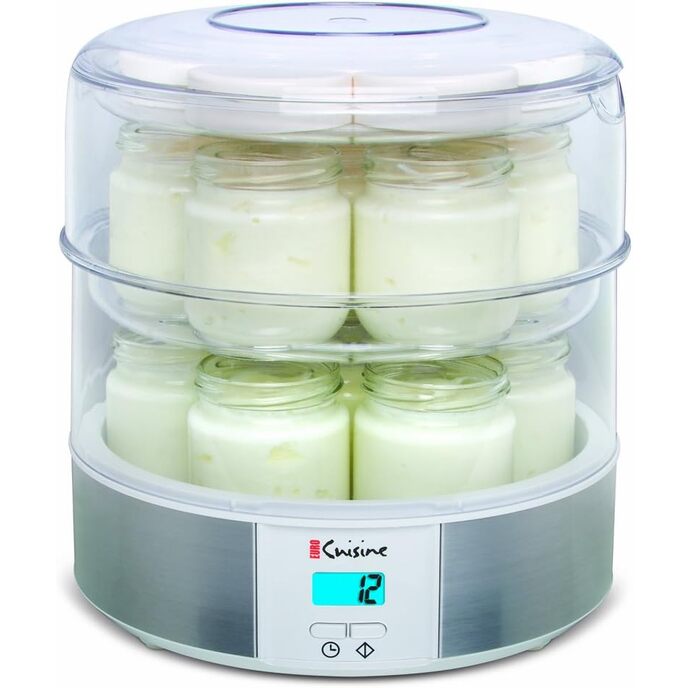
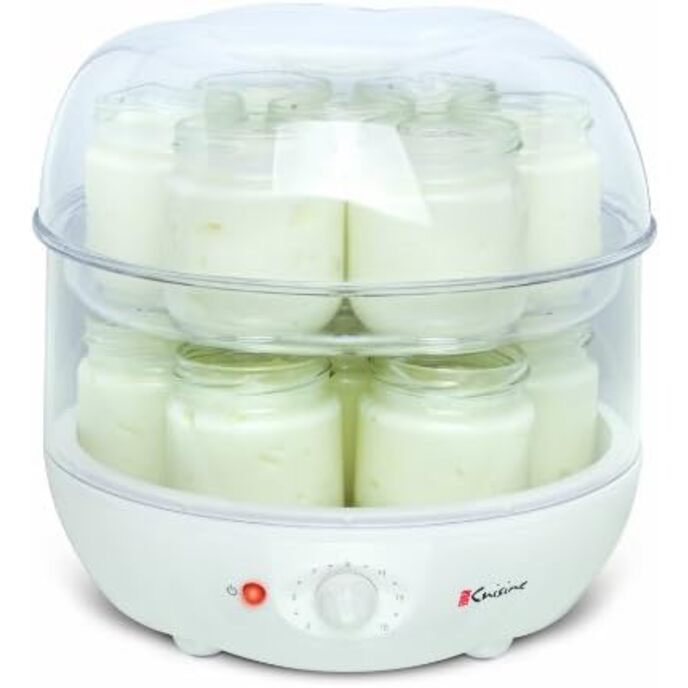
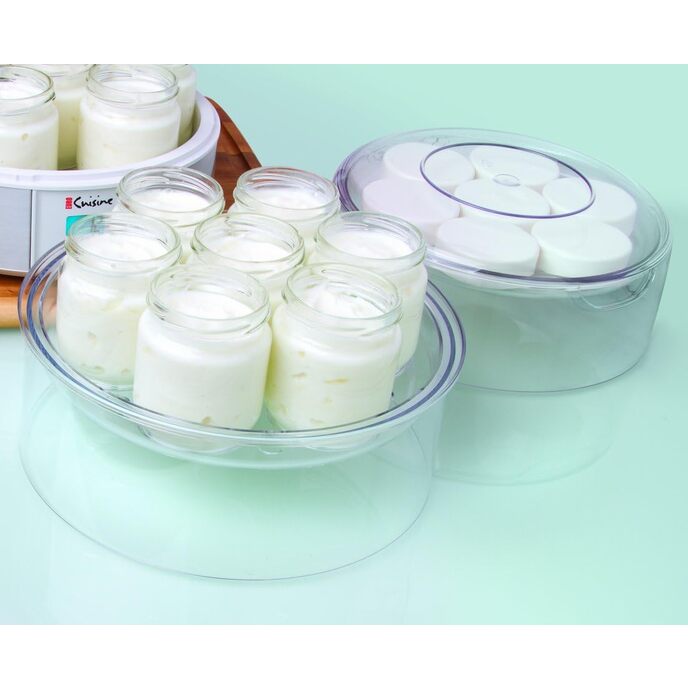
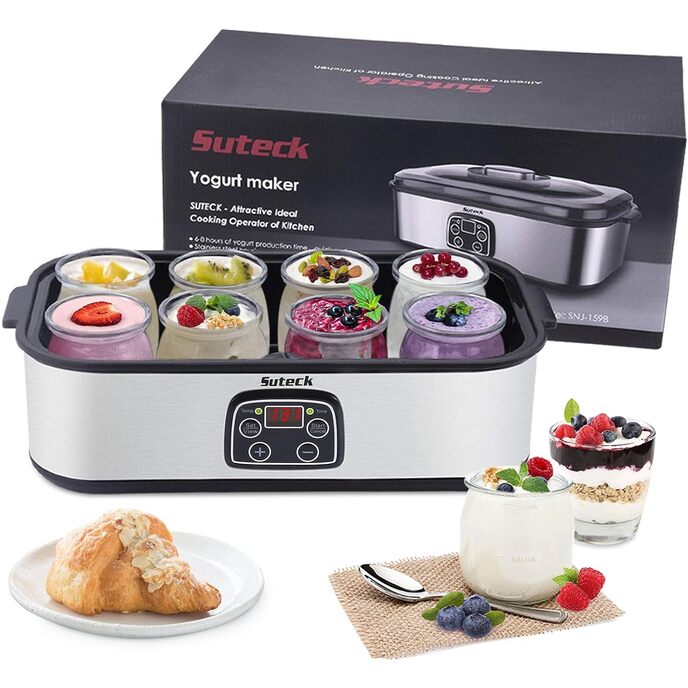
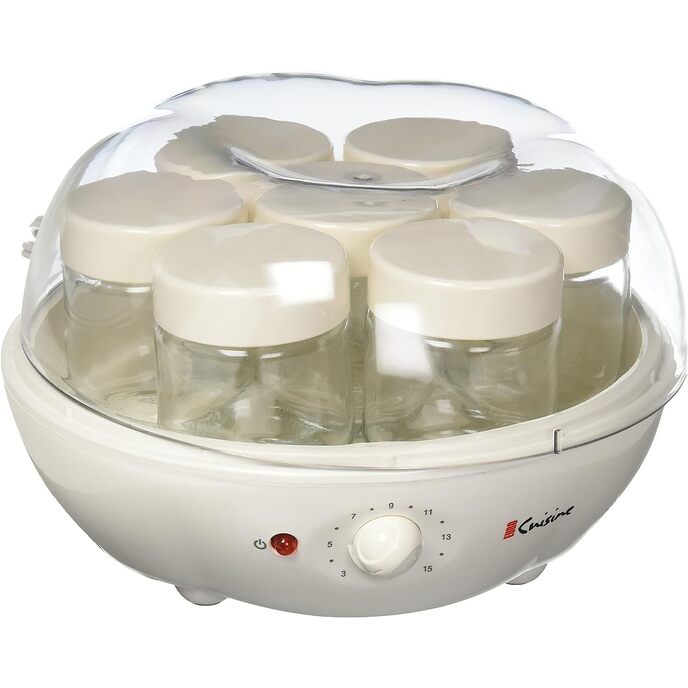
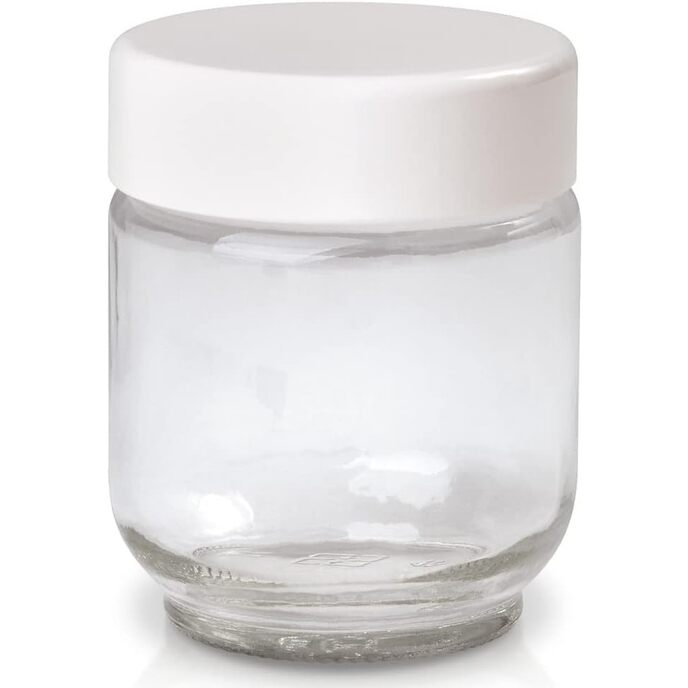
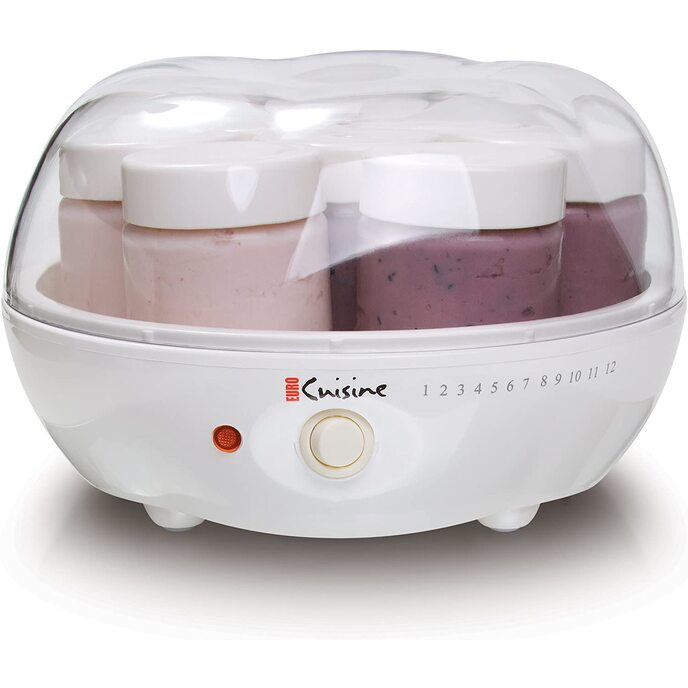
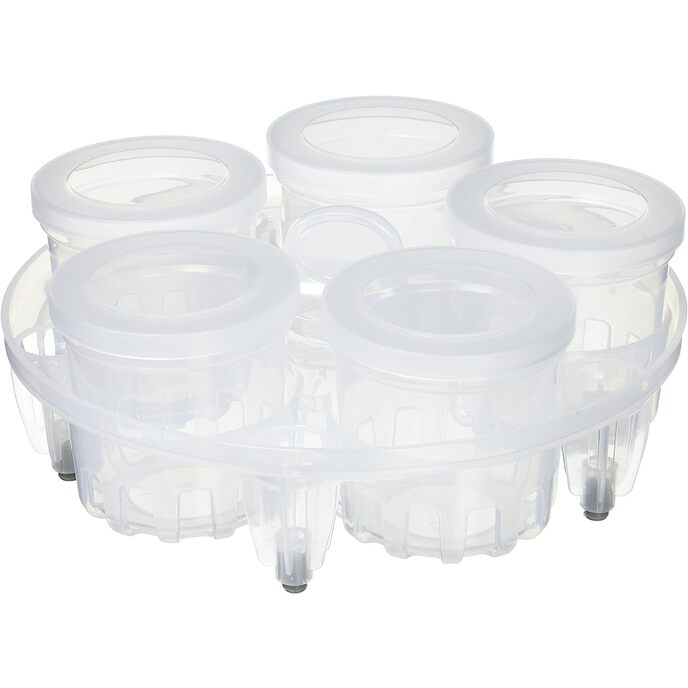
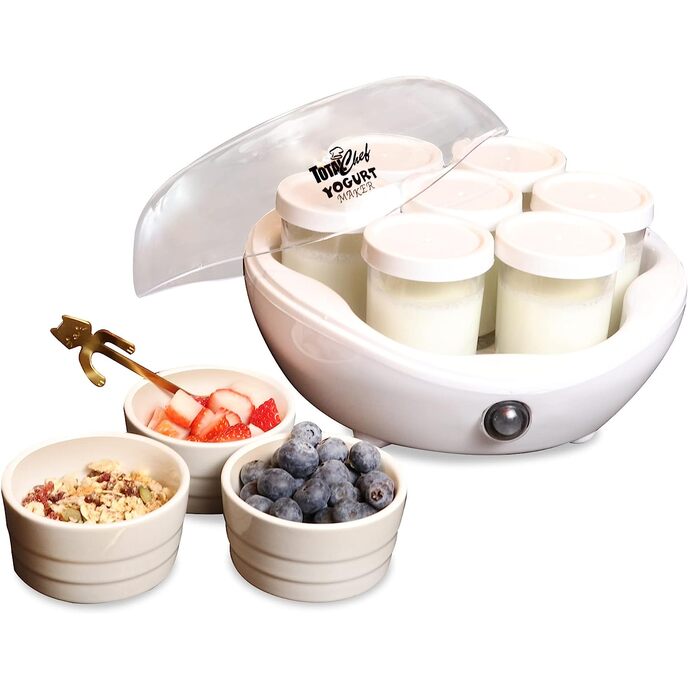
In fact I ordered this item but have not received it yet. So on what base am I writing this review? Well, first I read other reviews and noticed the problem that the top tier is too cool. Then, I thought about how cool it can be based on some thermal physics: Heat transfer through conduction (meaning by contact, imagine putting your finger on a hot pot), radiation (without contact, imagine what you feel when putting your finger 1 inch away from a hot pot but do not touch it), and convection (heat carried by wind). To solve the problem I looked up heat conductivity coefficients and the relevant material is glass (as in the jar), air, milk (or water), and plastic (as in the yogurt maker cover). Air is pretty low, 0.024W/K/m, plastic is between 0.2 and 0.4, water or milk is 0.5, and glass is 1.0. I also needed the power of the yogurt maker which is 13 watts for YM80, and I know this power is primarily used to overcome heat loss. A little calculation tells me that heat loss by radiation is very little, at most a couple of watts from the heated base which has an area of about 0.04m^2, so most of the heat is lost due to conduction, i.e. contact between the yogurt maker's plastic cover and the ambient air in the kitchen. Further calculation of the temperature gradient tells me that the air inside the maker and just below the plastic cover can't get very hot, probably only 1 F below the ambient temperature. So the average temperature of the air below the cover is about half way between the temperature of the heated bottom and the temperature of the kitchen. Assuming the bottom is kept at 110F, the average temperature of the air inside the maker is about 95F if you keep the kitchen at 80F, or 90F if the kitchen is at 70F, and so on. When you use only the 7 jars in the bottom tier, the milk inside is heated by conduction from contacting both the heated bottom and the air. Since the heated bottom is at 110F and higher than the air, the bottom tier's milk will no doubt be kept at 110F. However, for a 2nd tier, the glass jars are not in contact with the heated bottom and thus are heated only by conduction from the air, thus eventually will reach the average air temperature inside the maker. As calculated above, depending on how cool the kitchen is, the top tier could reach the incubation temperature (I read 95F is the lower limit), or could be below 90F if your kitchen is cold, so won't be good enough for making yogurt. An additional factor is how warm the milk is when you put it in. If it was slightly above 110F, it will slowly cool to 95F (or 90F, or whatever) and may provide long enough time for the yogurt to develop. But if you start from milk cooler than 95F and hope the maker will heat it up, then you probably will find complete failure in the top tier. Of course, the above calculation is very rough but might already be good enough to explain why some people had great success and some had complete failure with the top tier. Assuming the calculation is correct, how to avoid the problem? Below are just a few thoughts: Method 1) Start from the warmest temperature possible for the milk, so the milk will cool slowly but may allow enough time for the culture to multiply; Method 2) Covering the maker with a towel: the idea is to reduce the thermal conductivity of the plastic cover, hence reduce the heat loss and keep the inside temperature warm. But one has to use a pretty good towel/wrapper, since you have to reduce the thermal conductivity of the plastic cover (0.2-0.4) to a value close to air (0.024) to increase the air temperature inside. Perhaps making a yogurt maker "cozy" with quilted material will work; Method 3) switching top and bottom jars mid-way. Well, basically you are changing the temperature of the two tiers. This might work, but is very subtle and the taste of the two tiers may still be different depending on how culture develops at low temperature in the top tier. Method 4) if you are only interested in making more yogurt at one time, cutting out the middle of this top tier and fit tall mason jars might be for you (as described by another reviewer). In this case, all tall mason jars will be in direct contact with the heated bottom so there won't be problem of uneven temperature. Of course, cutting the tier with a saw may not be what you want to do. Maybe put tall mason jars on the heated bottom and just cover the whole thing with a cardboard box, an upside-down thermal cooler, or whatever (this is how many people make yogurt without yogurt makers, just put the mixed milk next to a bottle of hot water and put the whole thing in a thermal cooler). - I am going to try this first. Hope this helps. Will post updates if I find something wrong with my own analysis. Update: Got the tier yesterday and tried overnight with a 7-cup glass container on the bottom level and 3x 7oz jars on the top. Measured the milk temperature 4 hours into incubation: the bottom milk was at 105F and the top was about 97F. The top milk seems to have set well this morning. So the estimation seems to be accurate and the tier worked for me. Will have to see what happens in the winter when the kitchen is much cooler.
Scritto da: K
seems to work well
Its pretty simple, just added some more space for my yogurt
Scritto da: Boxer Dog Lady
This rack doesn't receive heat
This seemed like a great idea, allowing me to double the capacity of my yogurt maker. I use the cold start method to make yogurt, using a recipe that I have enjoyed for many years. The yogurt maker by itself makes only 7 jars at a time. With the top tier I could make 14. Using it for the first time, the heat from the maker unit did not reach to the top deck, leaving that yogurt runny and not set... the yogurt in the machine at the bottom set up as it should and was great. Typically without this rack, I make a mix that is large enough to full 12 to 14 jars so with this small yogurt maker, I put the extra 5 or 6 filled jars in the fridge and then when the first batch is finished would exchange with the ones in the fridge and process it. Always set up well.... so this top rack should have been an energy saver but it totally isn't and I had to toss out the runny yogurt. I do not recommend this at all as it is a waste of energy, ingredients and money. Will be returning it.
Scritto da: Wynona
It Works!
Just used this product for the first time. After reading other reviews, I decided to put only six jars in the top tier. I left the center spot open so more heat could enter the top tier. It worked! After 9 hours, the yogurt was set in both top and bottom levels. The yogurt in the bottom level was a bit firmer than the yogurt in the top tier. I put bottom tier yogurt in the fridge, moved the jars from top tier to bottom level and set the yogurt maker for another 2 hours. Perfection. You could probably skip the additional 2 hours if you like softer yogurt.
Scritto da: Valérie Jasmin
Excellent produit
Vraiment utile et de très bonne qualité
Scritto da: Irepa
Top tier yogurt maker -a real nice innovation that lets you make twice as much yogurt.
This works great. Just have to make sure the top tier is properly in place. You have to add 2 to three hours to the time so the yogurt will set properly. The extra time is well worth it, though

Prodotti correlati

hot
Yogurtiera 11".
2.7/5

€ 84.01

Yogurtiera 11".
2.7/5

€ 84.01

Scopri il nostro network internazionale

Spediamo in 28 paesi, oltre 200.000 prodotti. Resta aggiornato, iscriviti alla newsletter.

Shopping Cart