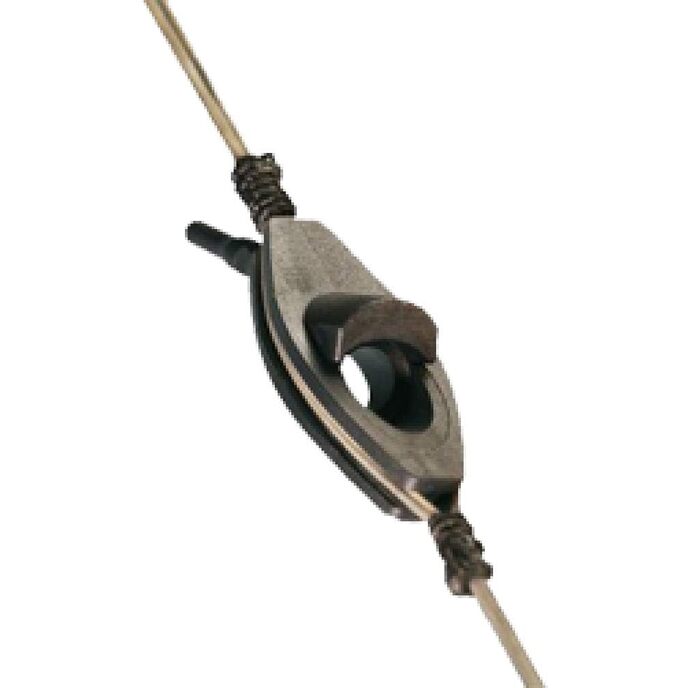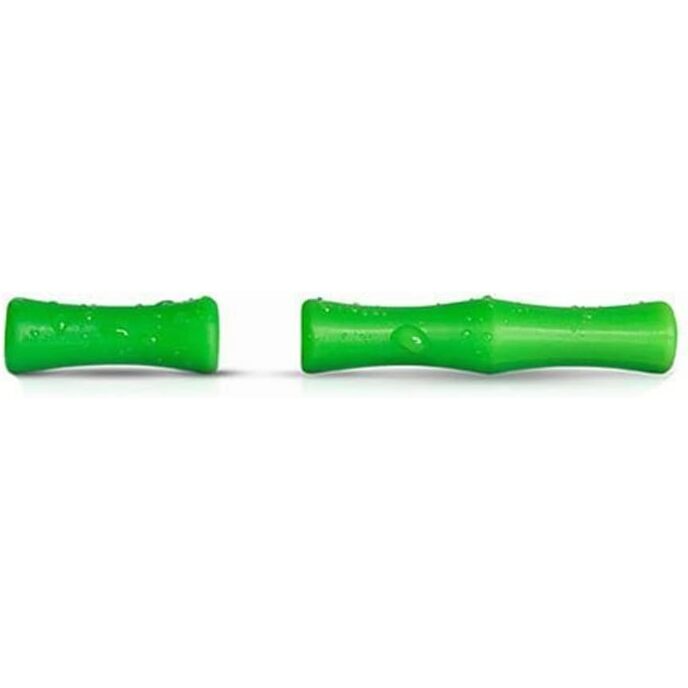
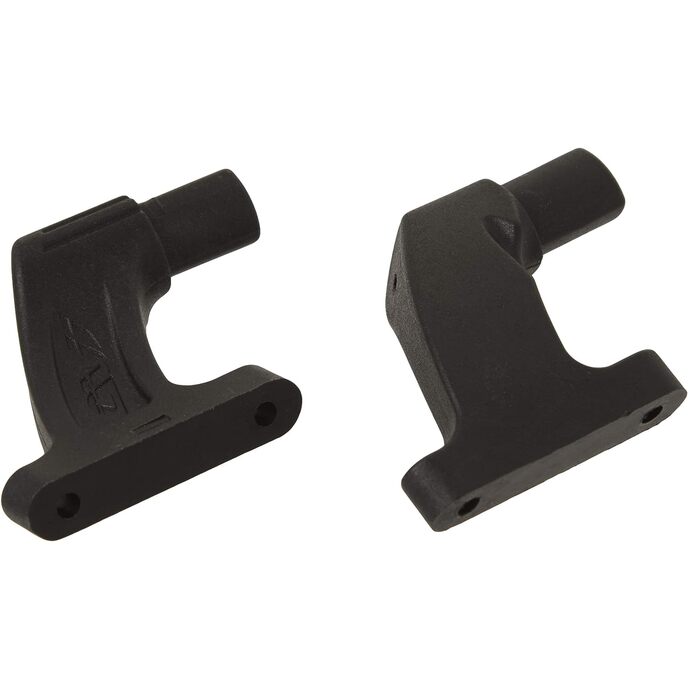

Lo smorzatore per corde Barnett Crossbow è semplicissimo da montare. Consulta l'elenco delle balestre compatibili con lo smorzatore 17180. 78129 BC DROPTINE XT , 78136 BLACKSPUR ,78138 BC DROPTINE XT REALTREE ,78140 WHITETAIL HUNTER II , 78142 RAPTOR FX3 PRO MOBR, 78144 WHITETAIL HP BLK , 78145 RAPTOR FX3 PRO, 78148 RPTR FX3 PRO- RTXT , 781 28 WHITETAIL HUNTER II , 78113 WHITETAIL HUNTER PRO, 78124 LADY WHITETAIL HUNTER, 78127 RAPTOR FX3 PRO, 78128 WHITETAIL HUNTER II, 78131, WILDCAT C7, 78132 RAPTOR FX3, 78135 BLACKSPUR TT, 78143 TERRAIN CXB , 781 46 TERRAIN XT, 78125 RECRUIT TERRAIN, 78125 RECRUIT TERRAIN ,78134 RECRUIT TACTICAL
EAN: 0042609171804
Categories: Sport e tempo libero, Caccia e pesca, Tiro con l'arco, Accessori, Accessori per la manutenzione dell'arco,
| Brand Name | BARNETT |
| Color | Black |
| Customer Reviews | 4.5 4.5 out of 5 stars 410 ratings 4.5 out of 5 stars |
| Included Components | String Dampener kit |
| Item Dimensions LxWxH | 4 x 4 x 2 inches |
| Item Package Dimensions L x W x H | 3.58 x 2.99 x 0.91 inches |
| Item Weight | 0.01 Ounces |
| Manufacturer | Barnett Crossbows |
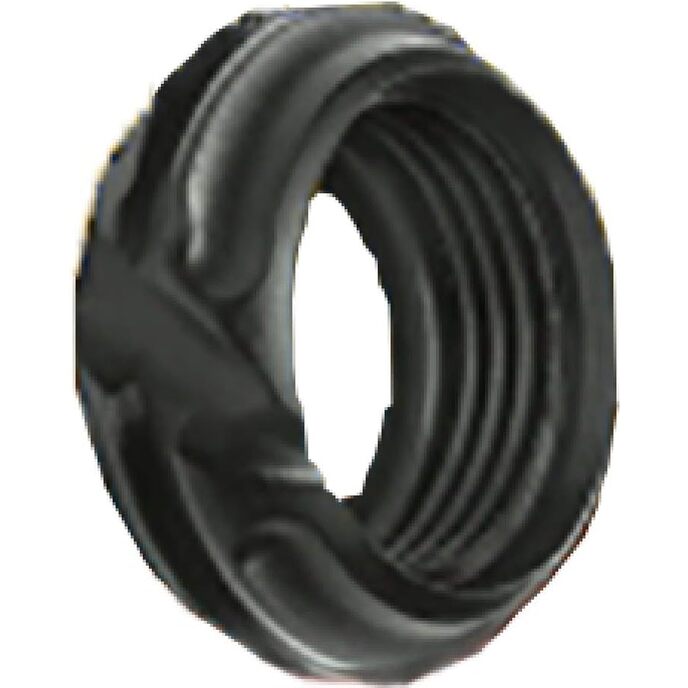
| Material | Rubber |
| Model Name | 17180 |
| Model Year | 2015 |
| Number of Items | 1 |
| Package Weight | 0.07 Kilograms |
| Part Number | 17180 |
| Size | 6X2X11 |
| Sport Type | Archery |
| Suggested Users | Unisex-adult |
| Warranty Description | Limited Lifetime Warranty |