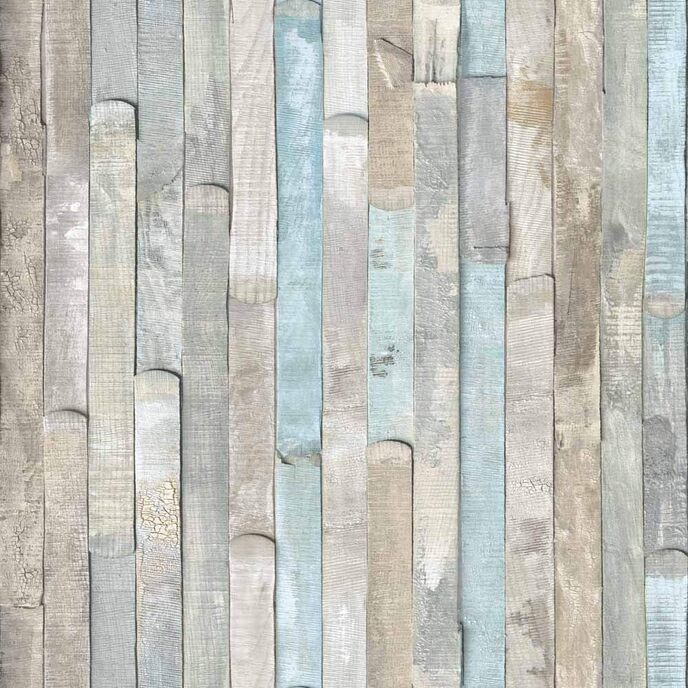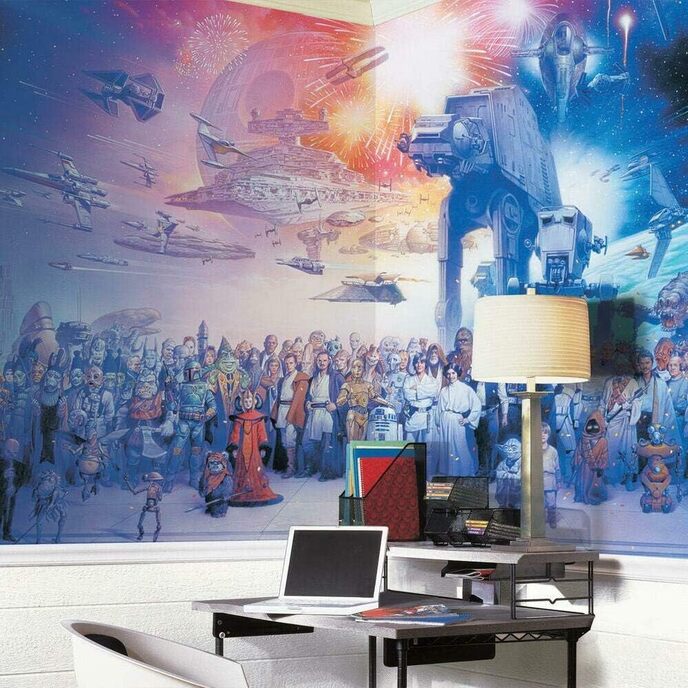
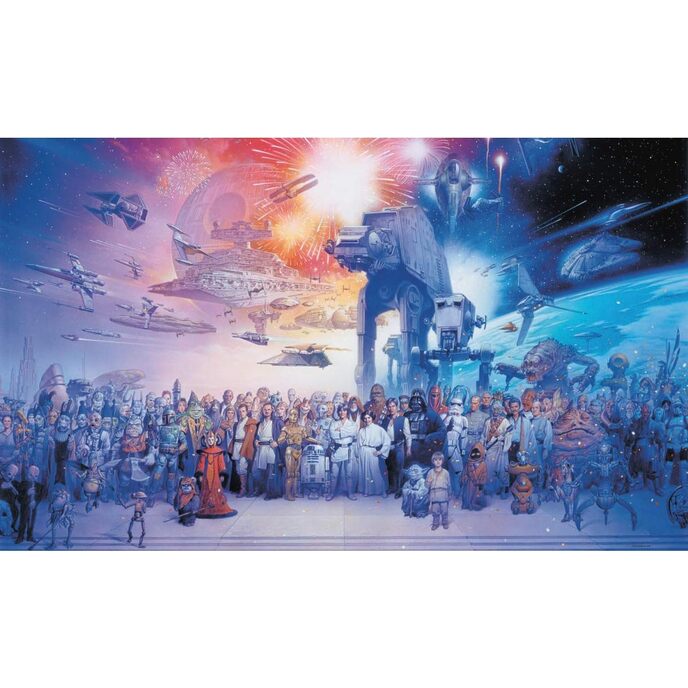
Prodotto negli Stati Uniti: i nostri murales sono privi di sostanze chimiche nocive e non sono tossici. Materiale: i murales spray e stick RoomMates sono realizzati con carta ad alte prestazioni, lavabile e resistente all'acqua. Facile da rimuovere: il nostro adesivo è abbastanza forte da aderire a qualsiasi superficie liscia e pulita, ma abbastanza delicato da poter essere rimosso a strisce intere senza causare danni alle pareti verniciate. Facile da applicare: basta spruzzare acqua sul retro di ogni striscia, attendere da 2 a 3 minuti affinché la pasta si attivi, quindi applicare sul muro!. Trasforma le tue pareti: i murales spray e stick sono un modo semplice per rinnovare qualsiasi spazio senza alcun adesivo aggiuntivo. Dimensioni: 10,5 piedi x 6 piedi assemblato.
EAN: 0854432452414
Categories: Strumenti e miglioramento della casa, Vernici, trattamenti per pareti e forniture, Adesivi murali e murales,
| Batteries Included? | No |
| Batteries Required? | No |
| Brand | RoomMates |
| Brand | RoomMates |
| Color | Purple |
| Color | Purple |
| Country of Origin | USA |
| Customer Reviews | 4.5 4.5 out of 5 stars 303 ratings 4.5 out of 5 stars |
| Domestic Shipping | Item can be shipped within U.S. |
| Included Components | RoomMates Wallpaper |
| Installation Method | Pre-Pasted |
| International Shipping | This item can be shipped to select countries outside of the U.S. Learn More |
| Is Discontinued By Manufacturer | No |
| Is Stain Resistant | Yes |
| Item model number | JL1230M |
| Item Package Quantity | 1 |
| Item Weight | 131 Grams |
| Item Weight | 131 Grams |
| Item Weight | 4.6 ounces |
| Manufacturer | RoomMates |
| Material | Paper |
| Material | Paper |
| Number Of Pieces | 10 |
| Part Number | JL1230M |
| Product Dimensions | 0.01 x 126 x 72 inches |
| Product Dimensions | 126"L x 72"W |
| Size | Mural |
| Special Features | Prepasted - Washable - Strippable |
| Style | Star Wars Saga |
| Style | Star Wars Saga |
| Theme | Movie |