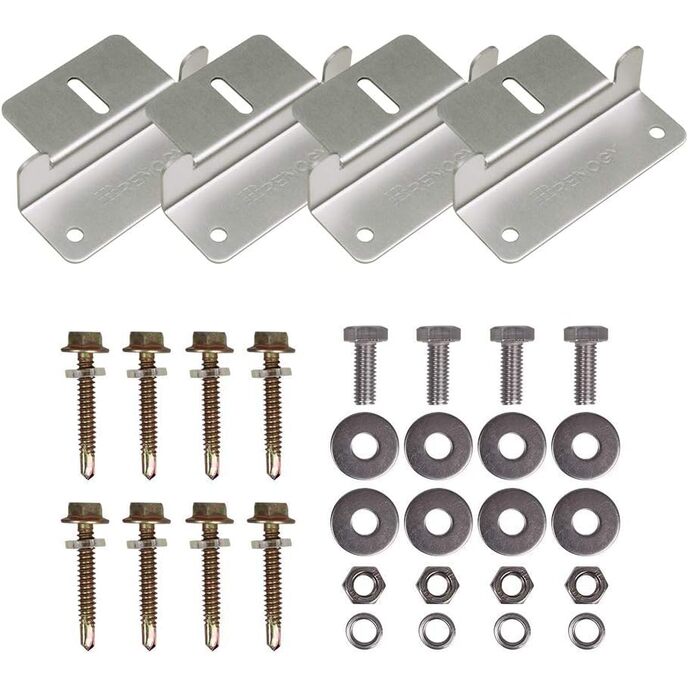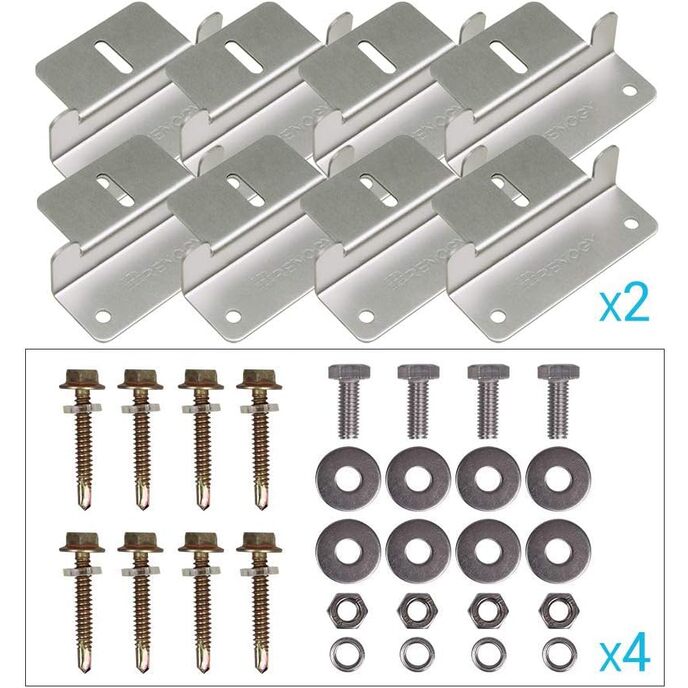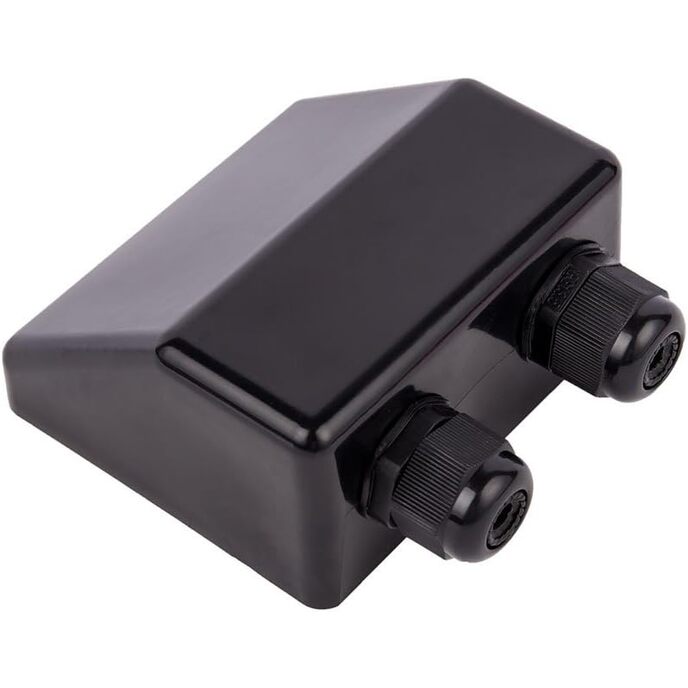
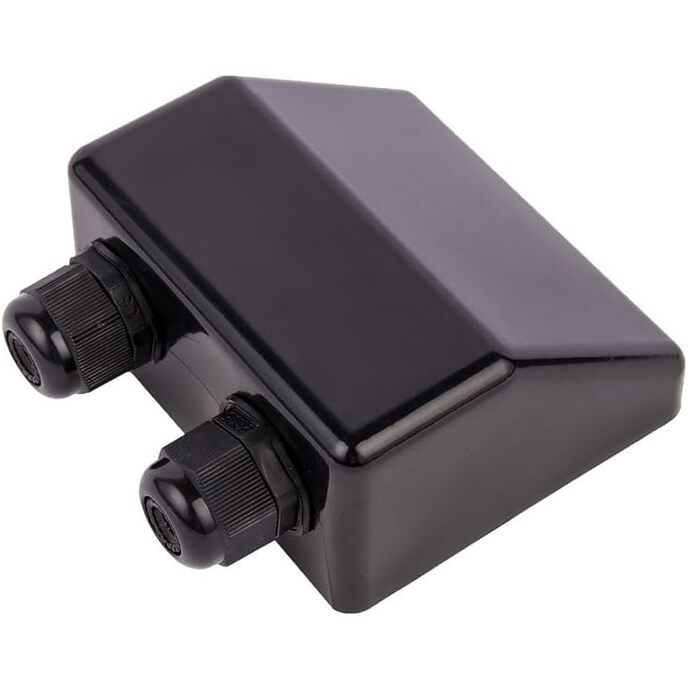
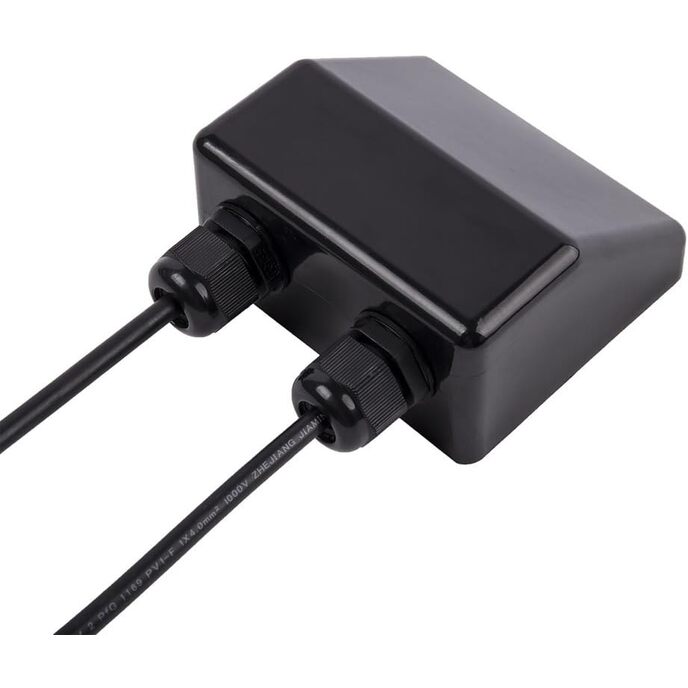
Compatibile con tutti i pannelli solari Renogy. Adesivo consigliato: Sikaflex 252 o simile. Installazione più semplice e flessibile. Gamma di diametri del pressacavo: da 6 mm² a 12 mm². Progettato per praticamente qualsiasi pannello solare con cornice in alluminio. Passacavi impermeabili. 100% riciclabile e resistente ai raggi UV.
EAN: 0816360023845
Categories: Patio, prato e giardino, Generatori e energia portatile, Energia rinnovabile, Parti e accessori per energia solare ed eolica,
| Brand | Renogy |
| Color | Black |
| Country of Origin | China |
| Customer Reviews | 4.6 4.6 out of 5 stars 939 ratings 4.6 out of 5 stars |
| Installation Type | Self-Adhesive |
| Is Discontinued By Manufacturer | No |
| Item Dimensions LxWxH | 4.7 x 3.9 x 2 inches |
| Item model number | Solar Cable Entry Gland Housing Mount |
| Item Weight | 2.24 ounces |
| Manufacturer | Renogy |
| Material | UV-resistant ABS Plastic |
| Product Dimensions | 4.7 x 3.9 x 2 inches |