CURT 13390 Gancio per rimorchio classe 3, ricevitore da 2 pollici, corpo principale esposto, adatto a modelli selezionati di Subaru Legacy, Outback

Brand:CURT

3.7/5

639.45

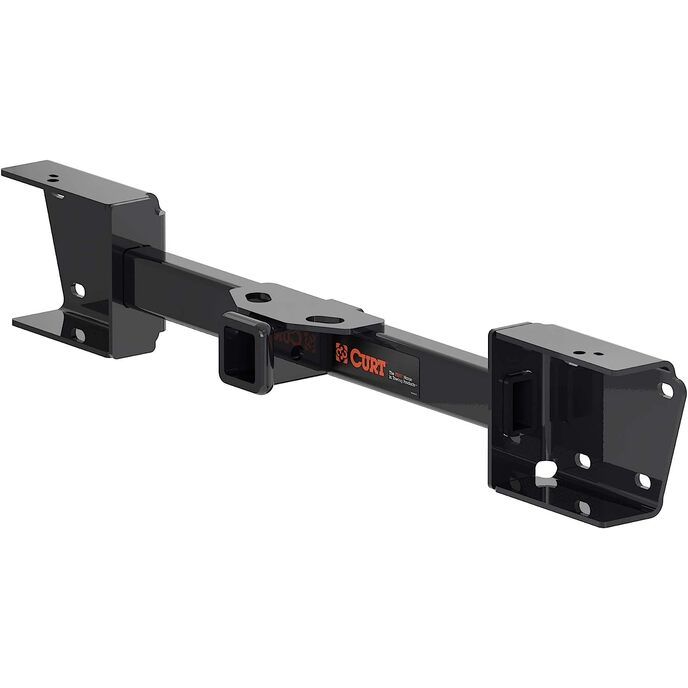
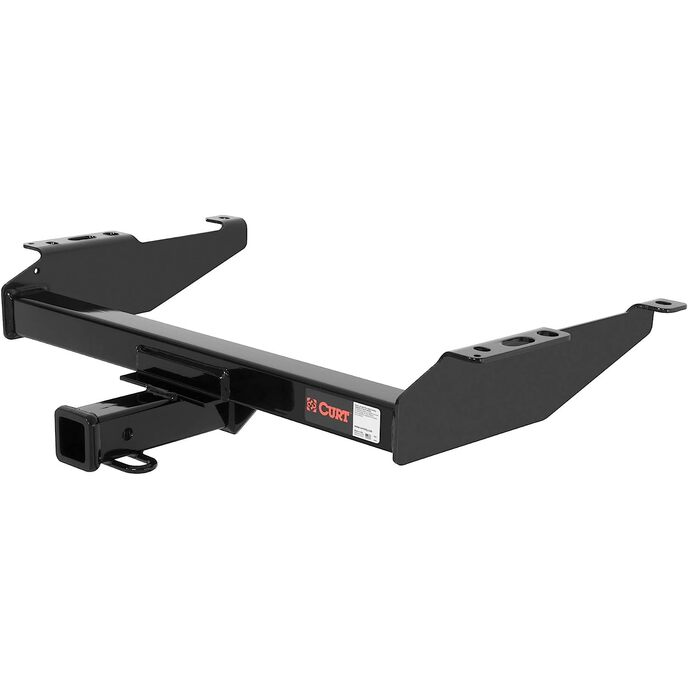
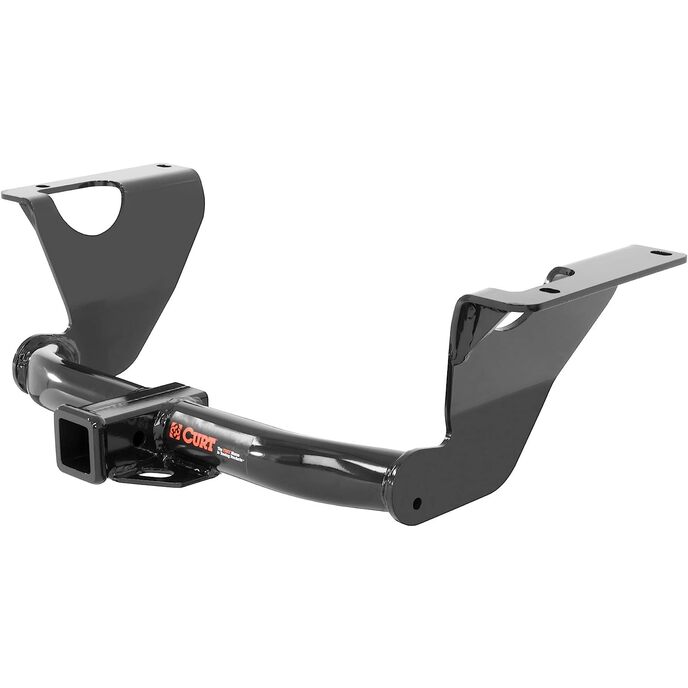
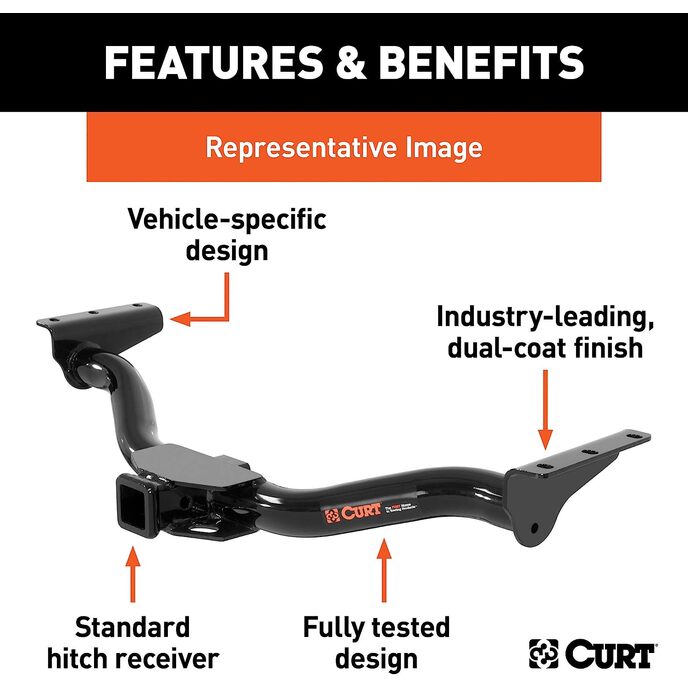
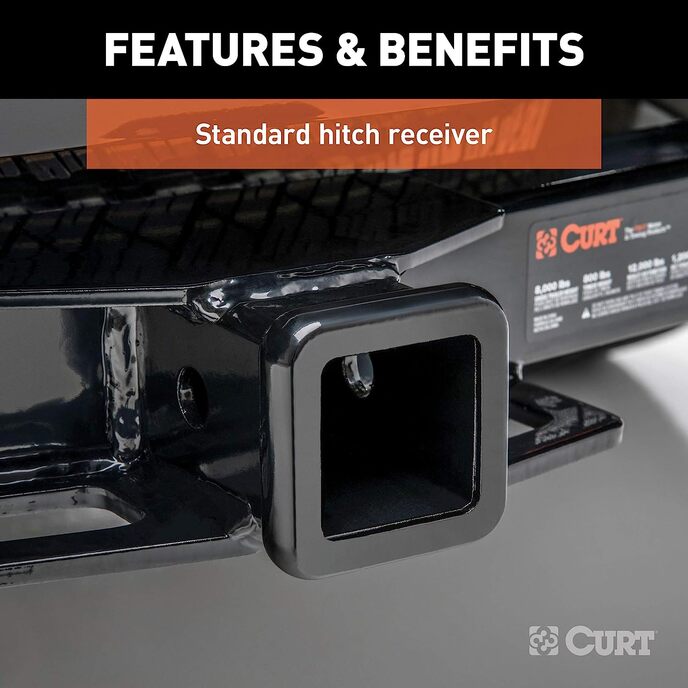
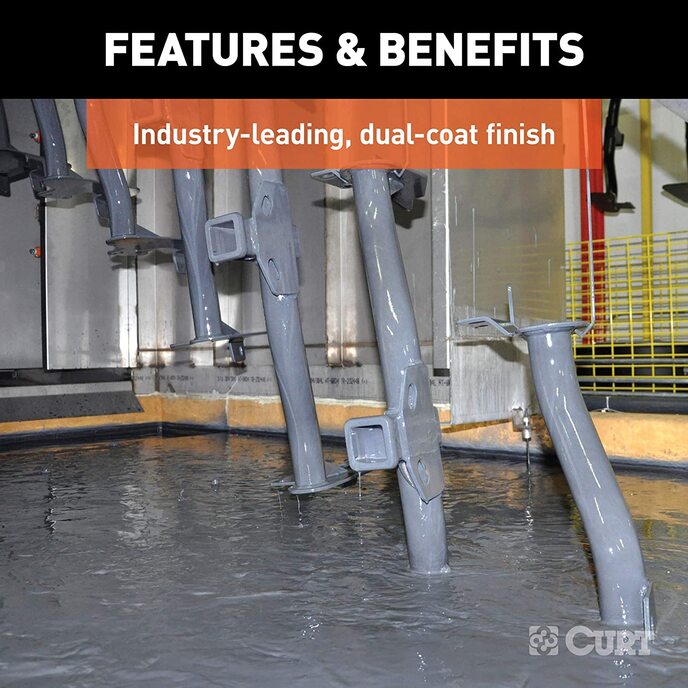
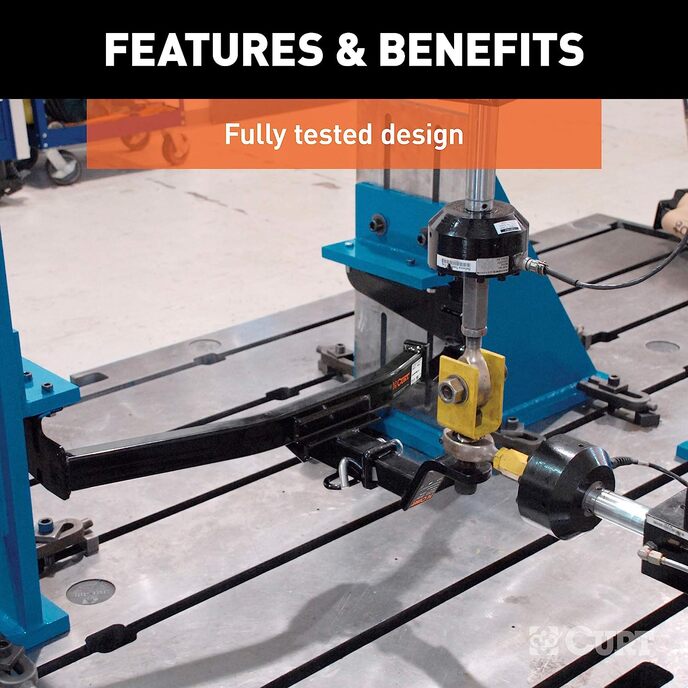
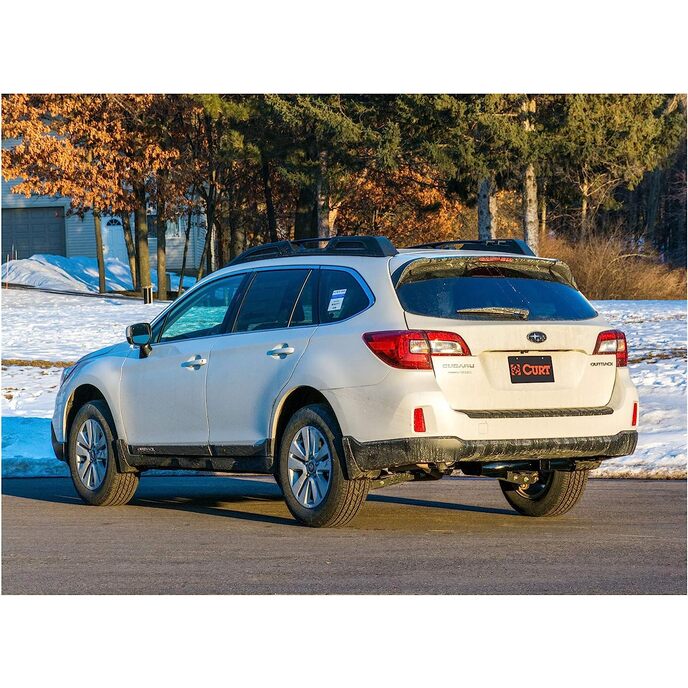
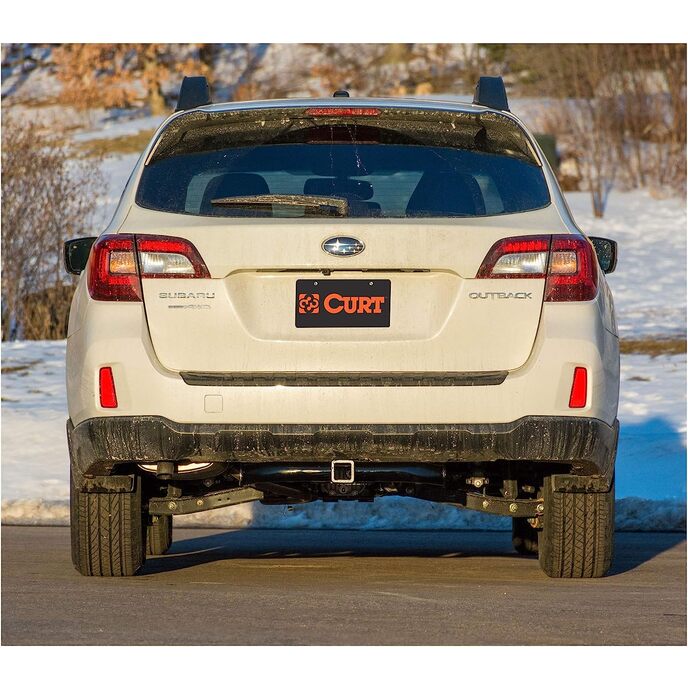
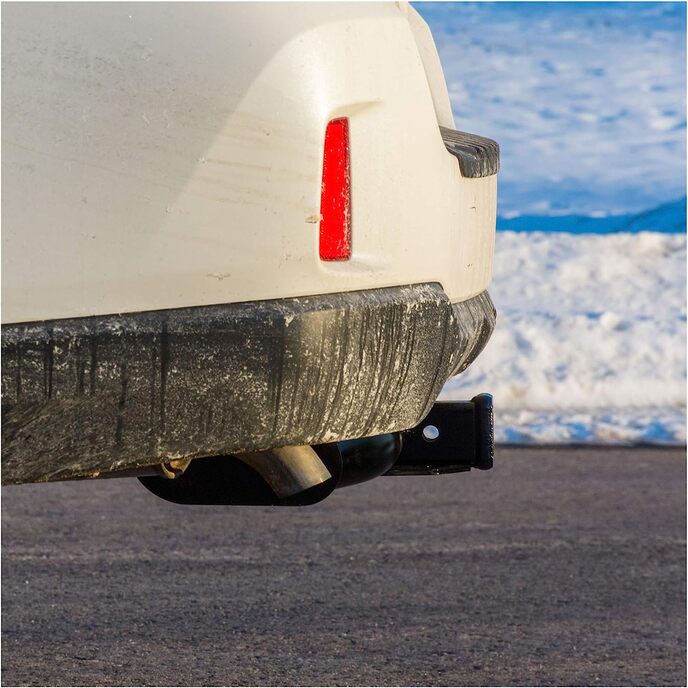
Qualunque sia il tuo compito a portata di mano, che si tratti di varare quella barca prima dell'alba, allestire il camper prima della corsa o portare un carico finale alla discarica prima della chiusura, i ganci per rimorchio CURT di classe 3 offrono la forza necessaria per un traino serio. Semplificano l'aggancio e il trasporto, offrendo una vestibilità specifica per il veicolo e la capacità di peso per gestire una varietà di rimorchi. Gli attacchi personalizzati di classe 3 sono il tipo più comune di attacco ricevitore per camioncini e SUV. A causa della loro fascia di peso, si trovano anche su auto a grandezza naturale, crossover e minivan. Ogni pacchetto di attacchi di classe 3 su misura è realizzato per il montaggio specifico del veicolo. Questo particolare kit si adatta ad alcuni anni di Subaru Legacy e Outback (vedere le informazioni sull'applicazione per verificare la compatibilità del veicolo). Fornisce una capacità di carico di 4.000 libbre. GTW e 600 libbre. TW. Gli attacchi per rimorchio CURT di classe 3 sono generalmente utilizzati per fissare e trainare rimorchi utilitari, rimorchi per barche, camper, motoslitte o dumper ATV e altro (NOTA: non superare mai il componente di traino con il valore più basso). Ogni attacco di classe 3 ha un tubo ricevitore 2 ed è testato in conformità con SAE J684 per la sicurezza. Per garantire che i ganci ricevitore CURT di classe 3 abbiano tutto ciò che serve per un rimorchio serio, sono progettati utilizzando un approccio pratico e sono costruiti con acciaio robusto e ad alta resistenza e saldature precise. Proteggiamo anche i nostri intoppi di classe 3 con una finitura co-indurita di rivestimento A liquido e rivestimento in polvere nera per una resistenza superiore a ruggine, scheggiature e danni UV.

Garanzia a vita limitata per l'acquirente originale. Hitch Ball & Ball Mount venduti separatamente. Non superare mai il peso nominale del veicolo. Il peso lordo del rimorchio (GTW) e il peso del timone (TW) variano a seconda dell'applicazione. Apertura del tubo del ricevitore da 2 pollici. FACILE DA INSTALLARE. Questo intoppo offre un adattamento personalizzato e di fabbrica su modelli selezionati di Subaru Legacy e Outback. RUGGINE, SCHEGGIATURE, RESISTENZA AI RAGGI UV. Questo gancio di traino è protetto da un'esclusiva finitura a doppio strato di Bonderite liquida antiruggine e da un rivestimento in polvere nera altamente resistente. Le due finiture sono co-polimerizzate insieme per un'eccezionale resistenza alla ruggine, alla scheggiatura e ai raggi UV. COMPLETAMENTE TESTATO. Ogni progetto di attacco per rimorchio di classe 3 CURT viene testato in condizioni reali sul veicolo presso la nostra struttura di ingegneria di Detroit. Gli attacchi aftermarket sono testati secondo gli standard SAE J684 per la massima sicurezza durante il trasporto. DISEGNO VERSATILE. Questo attacco di classe 3 equipaggia il tuo veicolo con un ricevitore di attacco standard da 2 pollici x 2 pollici, consentendo un'ampia varietà di opzioni di traino. Può accettare un supporto a sfera, un portapacchi, un portabici, un gancio di traino e molto altro. FORZA AFFIDABILE. Questo gancio di traino è valutato per 4.000 libbre. peso lordo del rimorchio e 600 libbre. peso della linguetta (limitato al componente di traino di livello inferiore). Materiale: acciaio al carbonio. Perforazione richiesta.
Brand CURT
Brand ‎CURT
Country of Origin ‎USA
Customer Reviews 4.6 4.6 out of 5 stars 372 ratings 4.6 out of 5 stars
Exterior ‎GLOSS BLACK POWDER COAT
Finish Type GLOSS BLACK POWDER COAT
Is Discontinued By Manufacturer ‎No
Item model number ‎13390
Item Weight 35 Pounds
Item Weight ‎35 pounds
Manufacturer ‎CURT
Manufacturer Part Number ‎13390
Material Carbon Steel
Model ‎Class 3 Hitch
OEM Part Number ‎13390
Product Dimensions ‎18 x 42 x 12 inches
Vehicle Service Type Pickup Trucks, Marine-Personal-Craft, ATV, Car, Sport-Utility-Vehicles, Snowmobile, Trailer

3.7

8 Review
5 Star
81
4 Star
10
3 Star
3
2 Star
3
1 Star
3

Scrivi la tua recensione

La tua mail non sarà pubblicata. Tutti i campi obbligatori sono segnati con*

Scritto da: Cindy
Nice hitch, great quality, but so-so instructions.
Pros: 1. Made in USA. 2. Excellent Workmanship/finish 3. Heavy Duty 4. Looks nice after installation. 5. Nice hardware kit Cons: 1. Weak Instructions. Ok...Kudos to those who posted tips on installation. If you have a few tools, you can install this without too much trouble. Extra Tools Used: 1. Dremell tool with cutting disk 2. Floor Jack 3. sharpie marker 4. small telescoping magnetic pickup tool (pen-size) 5. Rust inhibitor paint or coating (for where you drill the car) Recommended steps: 1. Open the hatch and remove everything lining the floor in the trunk area. The foam surrounds on either side of the spare tire will come out. They are held in by some plastic clips. Grip the foam on either side of the clips as close to them as possible and give a quick, firm tug straight up. It feels at first like they will break, but they will not. they will fly off though, so be careful and watch where they go! 2. Under the car, if you can do so, unbolt the muffler on at the first connector just upstream from the muffler. If your car is new, this will be fairly easy. This will make getting the rubber supports from on the muffler easy to remove. Otherwise, be prepared to wrestle with them, as they do not come off easily otherwise. If the bolts are not cooperative, use some PB Blaster on the bolts to help break them loose, or get new ones to replace the old and cut them off. I was able to get my floor jack under the muffler to help support it. 3. Remove the heat shield. Set this aside. Do not cut it per the instructions just yet. 4. The instructions say to enlarge holes on the underside of the car. Do NOT do this. In northern climates, this will expose the car to additional road salt. Instead, inside the trunk towards the seat, on each frame rail you will see a hole covered with a circle of black tape. Remove the tape. Place the bolt on each hole and trace it with the sharpie. Using the dremel tool, enlarge the hole with the cutting wheel. If you take your time, you can make a nice cut. The only real discerning thing is that you realize how thin the sheet metal is! 5. This is where the floor jack came in handy. I positioned the jack under the center of the car and lifted the hitch into place. as you get close to the car, align the bolt holes closest to the bumper and push the hitch up firmly against the car with the floor jack. 6. Back to the instructions. Follow the instructions for inserting the bolts. The wires that guide the bolts and washers work slick, but require some patience. I ended up using a small telescoping magnet to "catch" the end of the wire and pull it through the hole. Guide the bolt and washer through the holes closest to the bumper. run the nut up and tighten firmly. 7. With the hitch now in place, use it as a guide to drill the hole locations on the hitch where none exist on the car. Repeat the method for inserting the bolts in the holes you just drilled. Tighten up the nuts, and you have now mounted the hitch. Drop the floor jack and remove it. 8. Heat shield modification. Take the heat shield and hold it up close where it mounts. You just covered one of the mounting holes, so it will need cut to fit now. The instructions have you cutting off more of the shield than needed. You can do a nicer job if you do it this way. If you are like me, and the jagged edge bothers you, leave a little extra material on the shield and using pliers you can add hem bend along the edge you cut. Reinstall. 9. Using the floor jack again, lift the muffler back up in to place. Get the rubber supports back on the shafts they mount to. Bolt the muffler back to the pipes. You are now done on the underside of the car. 10. dress the hole if you cut with the dremel too with the rust inhibitor. I covered these holes with electrical tape. put all the stuff you removed from the truck back in, reverse order, of course. Button everything up and you are ready to go. I gave this 5 starts due to the quality of the hitch. Without online help to clarify and simplify the installation, I would have given this a 3 or 4 stars, as I would have wrestled with it. Instead, it went pretty smooth. My approximate installation time was 2.5 hours, as I took my time and pre-fit some things. If you are not handy or have the tools recommended, get some help from someone who does. It will save you from some frustrations.
Scritto da: Caroline
challenging installation, but solidly built.
The instructions are garbage so throw those out immediately. Get yourself a 10mm socket, 3/4" socket with an extension, a breaker bar and most importantly: 1" step drill bit! You need to drill through the frame in order to "fish" the bolts through. Now that sounds frustrating and it is, but it actually worked really well and I got them fished through without issue. When you're finished that 1" hole will be exposed to the road elements, the other covered by the exhaust shield. You need to cover that hole or debris/water will get in the frame and rust it out from the inside. I actually used a mason jar lid and metal drywall anchor to patch the hole. Other than the tedious install, it was well worth it. Solid construction and looks discrete.
Scritto da: Amazon Customer
Sturdy, self installation was fine.
First off, I have not towed with this unit yet. So I can't speak to that yet. Although I don't expect any trouble in that area. This review will cover my initial impressions and installation. The unit is sturdy and the welds and construction look solid. The paint is well applied and I expect it to hold up for a long time against the elements. Installation. I put this on a 2010 Subaru Outback. I can vouch that it fits for that. When I first put it into position to take a look, I noticed it is pretty snug against the wheel well of the spare tire. I was concerned at first but not at the end. It fits, it's just close. The installation went pretty much exactly like the video. Lower the exahaust a little, remove and modify the heat shield, drill the frame and bolt the thing on. The clever tool to fish the hardware through the frame works well and I had no trouble with it. I worked slowly and deliberately to avoid trouble with that part of the installation. I'd say it took maybe 90 minutes all told. About what I expected. The only challenge is the muffler being in the way. It's jsut in the way a little on the one side. But, it did not stop me from doing what I needed to do. More of an irritant than an obstacle. If the muffler bolts/nuts weren't rusted and frozen together, I would have removed it to make things easier. Also, I did order the tool to pop the rubber hanger supports out for the exhaust. That thing made it SO easy that I have to recommend that - otherwise you can wrestle with the things until you get the hangers out. On installation, I put anti-seize on eveything including the bolts for the heat shield too. Just a tip for anyone doing this in the northeast. I am happy with the fit, look, and installation of this unit and I expect it to serve my needs well: Bike rack and light towing.
Scritto da: David Shuttleworth
NO PROBLEM INSTALATION
It took very little time for the two of us to install. It is very solid and well constructed
Scritto da: Gary
Great Purchase
Towed a uhaul across the country with out a worry. It was easy to install and was great value. Happily recommend.
Scritto da: Amazon Customer
Great quality
Easy install instructions and hauks well
Scritto da: Steeve
Perfect fit
Strongly recommend this. Instructions are very clear and accurate. Tough built. If you're looking for a hitch, this one is a no brainer, period.
Scritto da: Cong
It doesn’t fit outback2022
Be careful!Subaru Outback 2022 should chose another product.

Prodotti correlati

Scopri il nostro network internazionale

Spediamo in 28 paesi, oltre 200.000 prodotti. Resta aggiornato, iscriviti alla newsletter.

Shopping Cart