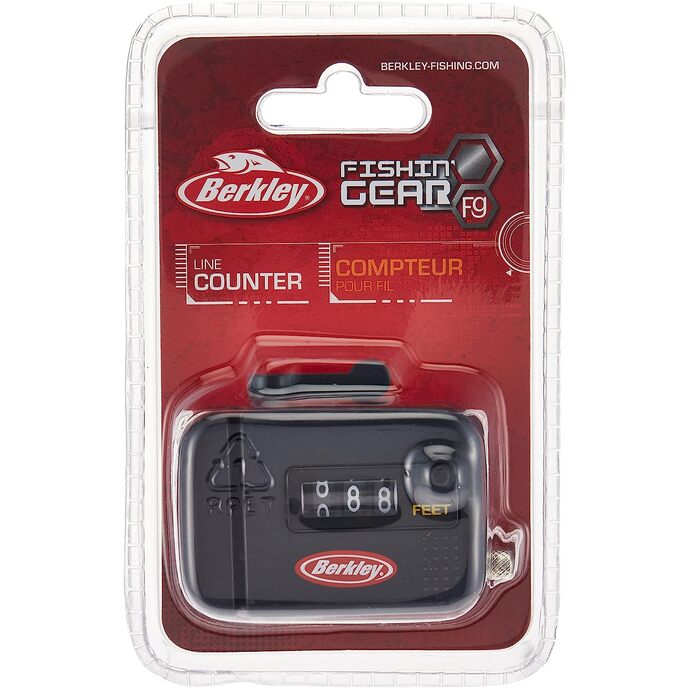
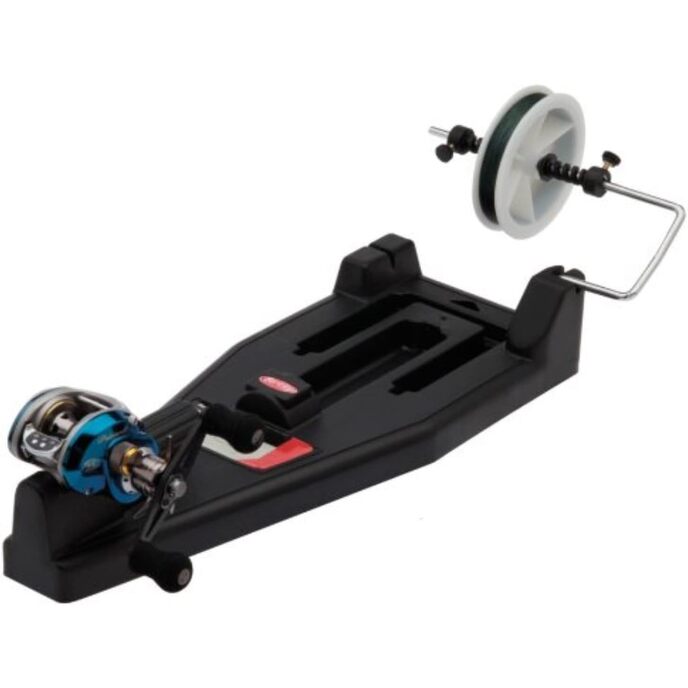
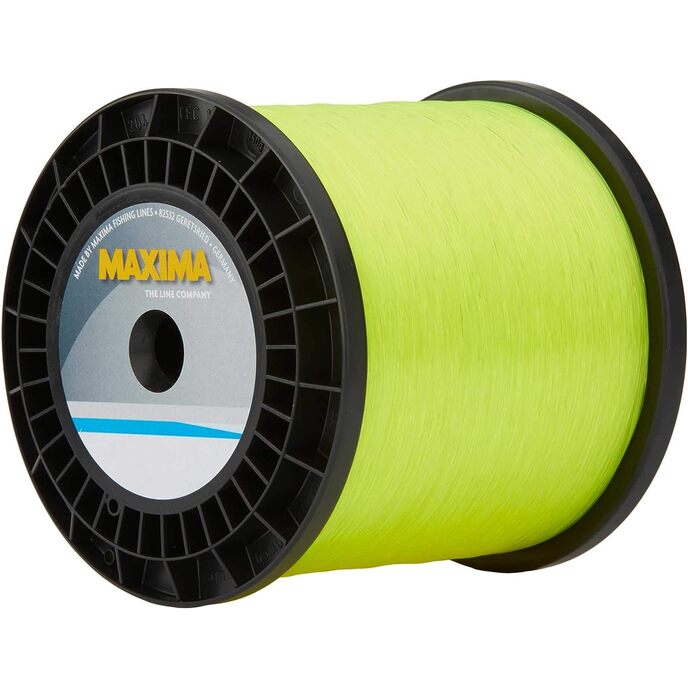
I bought this to try using it with the yarns I use for knitting. "Official" yarn meters cost hundreds of dollars, and the more I looked at some of them, the more I noticed that the actual counter parts on them looked a WHOLE lot like...exactly this counter. So for a $10 price tag, I decided it was worth buying this on its own to give it a try. If it didn't work for me, I was only out ten bucks. After getting my hands on it and testing it out on some worsted yarn, I have mixed feelings. It'll work...assuming you can figure out how to make it work. Until that moment, it will appear to not work at all. The bad: it comes with no instructions. None. Zero. Maybe instructions aren't necessary for experienced fishermen, but I *definitely* needed them, because there's four or five moving parts on this thing and none of them are labeled in a way that indicates what they do or what you should with with them. And they're (almost) all controlled with tiny little mechanisms. Now, I have fairly small hands, so I was able to adjust those, but it was uncomfortable and even with small hands my ability to grip some of them was iffy. If you have big beefy hands, I'm not sure how this would work out for you, assuming you can figure out how to make it work in the first place. The good: it works, smoothly and without (obvious) error - and for those of us buying this for yarn, I can verify that it works on worsted weight. At least, it does that once you figure out on your own how to use it (I couldn't even find an instructional youtube video!). For as inexpensive as it is, it's worth if if a) you already know how to use line counters, b) you're mechanically-minded enough to figure it out, or c) you have the patience to try over and over again until you accidentally figure it out. Or hey, d) you read this review and it helps you. See next paragraph... So I am no engineer, nor am I a technical writer, nor do I claim to have figured out the *best* way to use this meter, but having at least got it to work, I figured I'd share with the class: 1. There needs to be tension in the yarn/line, because this little machine relies on...I dunno, friction or something? Your fiber needs to be pushing down on its mechanism, basically. And pushing down pretty seriously - you can't just run your yarn through it between skein and needles as you knit unless you knit at a tension that keeps the yarn TAUT. I was able to get it working in a way that didn't feel terribly unnatural by placing it between hank and my yarn winder as I wound, but trying to just pull some yarn through it at knitting tension and get the counter to work was near-impossible 2. There are four mechanical-ish parts on the counter that you can press and/or adjust. They are as follows: a) Little black push button next to the word "feet" on the front of the counter. This resets the counter to zero when you press it. b) Grey arm about an inch long that swings up and down in an arc, labeled (if you look close enough) "on" and "off". No, this isn't a power button. This raises and lowers a metal arm inside the mechanism that holds your line down against the wheels it needs to spin for counting to happen. When you're setting up a line in the counter, you start by turning this to "off", then insert your line, then turn it to "on" once your line is situated right against the internal mechanism c) A large thumbscrew partially obscured by the belt clip on the back of the counter. This is useful mostly to the fishermen rather than the knitters; it allows you to set how wide the clip will open and stay open (it works a little bit like the little doodad on gas pumps that lets you flip it down and stop holding the handle), so that you can clip the meter to things like fishing poles. This piece does *not* affect the counting mechanism in any way I can see. d) A small thumbscrew on the short end of the counter, labelled "-" and "+". I *think* this lets you adjust the internal mechanism to match the thickness of the line you're using (toward "-" for thinner, "+" for thicker") but I wouldn't swear to it. It didn't seem to do a ton for my yarn purposes, but then I've only tested one yarn weight. 3. To prepare the counter (these instructions worked for setting it up to measure yarn. Fishermen's mileage may vary)" a) Move the on/off swing arm to "off" b) Place your line/yarn in the narrow trough on the front of the counter that contains the internal mechanism. The end - the part which you're going to be pulling out at you go - belongs coming out the top of the trough, up toward the swing arm. If you look closely at your line in the trough, you'll see that your line doesn't lay flat; it has a slight upward hump toward the bottom (i.e. toward the "Berkley" logo end of the front). This is normal and correct! c) Zero out the counter if necessary by pressing the black button next to "feet" d) Move the swing arm to "on" 4. Test the counter to see whether it's adjusted right for your line width a) Hold the non-end of the line, the part coming out of the ball/hank/skein/reel and into the bottom of the counter, tightly with with downward (toward the bottom of the trough) pressure to create tension against the mechanism b) Begin pulling the opposite end out of the top of the trough, parallel to the body of the counter/direction of the trough. Pull it out a couple of feet. Don't slope it up or down and make it perpendicular to the counter. c) If you have the mechanism adjusted correctly, you will see the digits on the counter move slowly from 0 to 1, etc. d) If the counter doesn't move, move the swing arm back to "off" and try adjusting the =/- thumbscrew larger or smaller, remembering to move the arm back to "on" before pulling; keep trying this until the counter moves 5. Use the counter for real (assuming you're using it for yarn): a) First, note that you're going to have to use this while winding, not while knitting (see the note about tension toward the top). So sit down with your swift and your ball winder and set up your swift like normal. b) Put the leading end of the yarn through the counter's trough as described above, then loop it through the metal coil that's (probably) on your winder and secure the end into the winder as you normally would. c) Now create some tension on the end that runs from counter to swift, enough to move the counter like you did in your test run above, then... d) ...zero out the counter (but remember that you're going to have a few inches to a foot or so of yarn uncounted because it's the yarn you ran through counter and winder to secure the end). e) Keeping up your tension (it was fairly easy for me because I tend to use a hand to guide the yarn from swift to winder at an even tension anyway, but ymmv), start winding. If everything is going right, you'll see the counter's numbers start to tick up, more quickly than during your test run. f) Congratulations, you're measuring your yarn! Keep winding and running the yarn through the counter until either you run out of yarn or the counter hits 999 (remember, that's only 333 yards, and many yarns come in skeins longer than that). If you hit 999, write it down, zero the counter, and keep winding, remembering to add 999 to your final count at the end (and also remembering that this counter measures in feet, not yards, so divide by three at the end to get yardage) I hope this mini-novel helps some fishermen and/or knitters get this guy working for them!