Kohler 1068622 Kit valvola di scarico .3 oz .3 oz Incompiuto

Brand:Kohler

3.5/5

73.77

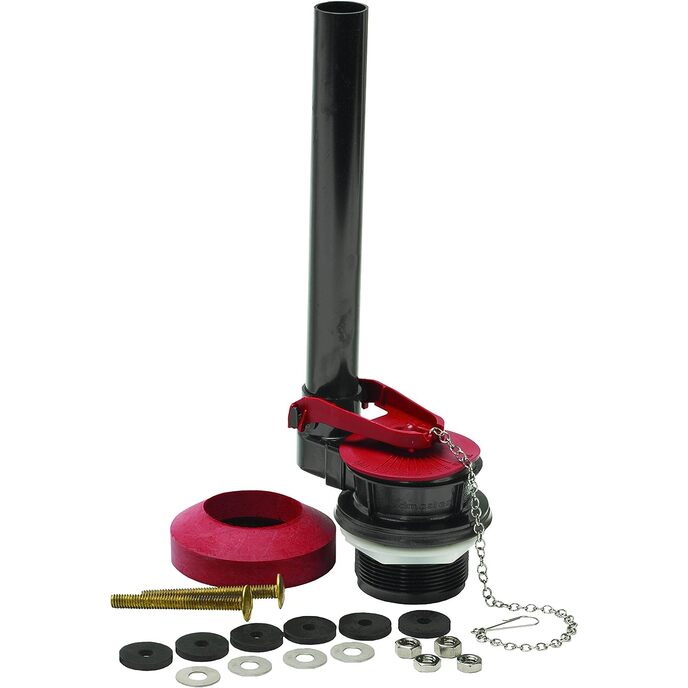
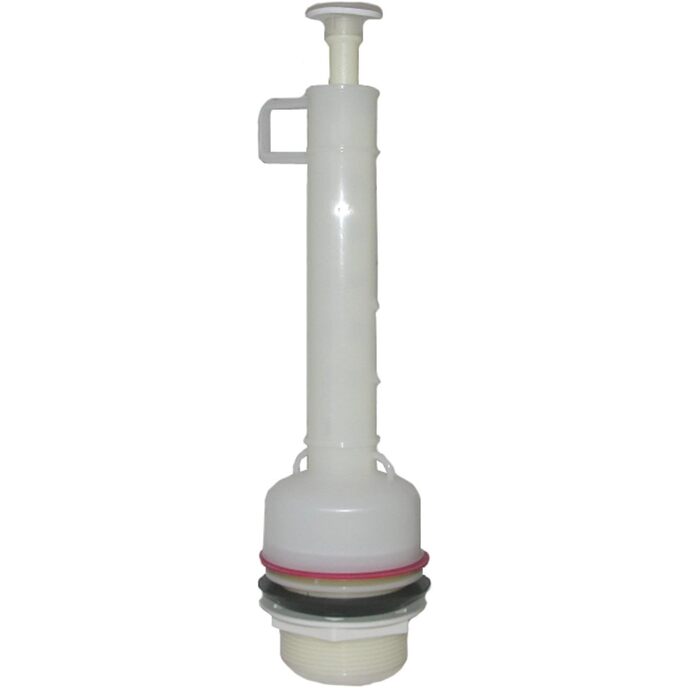
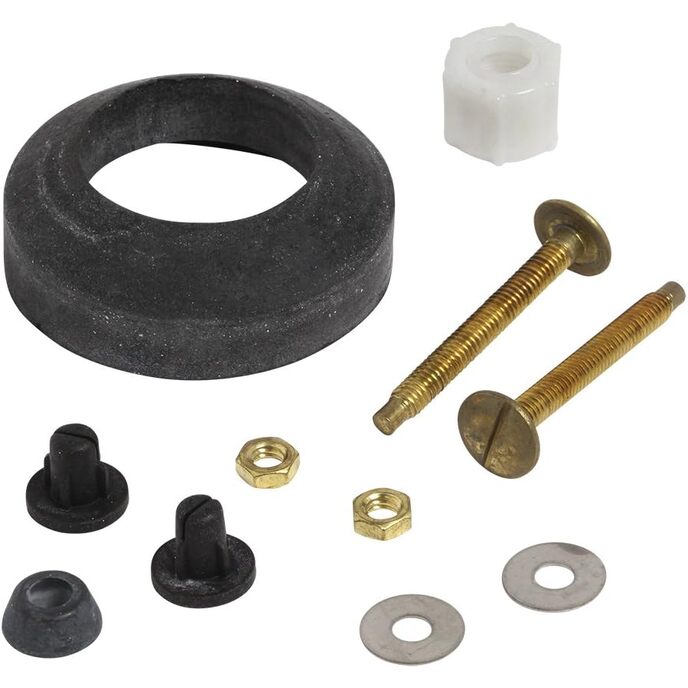
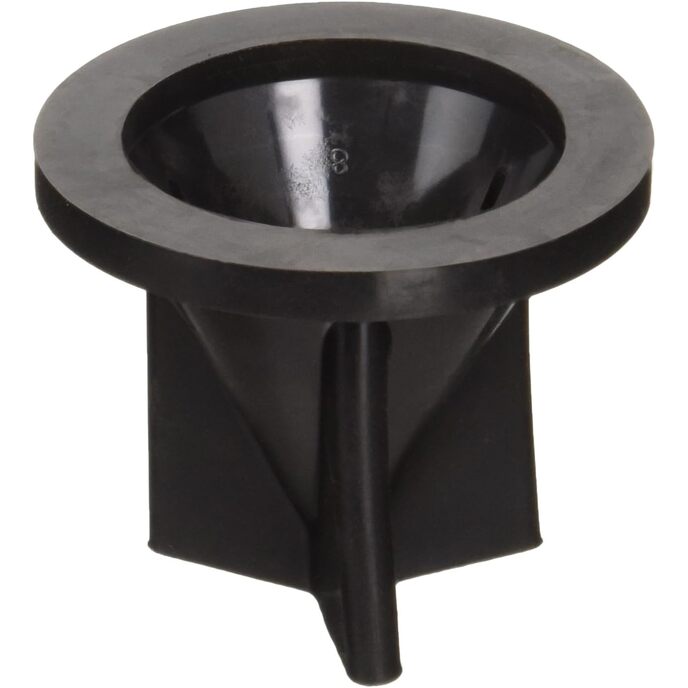
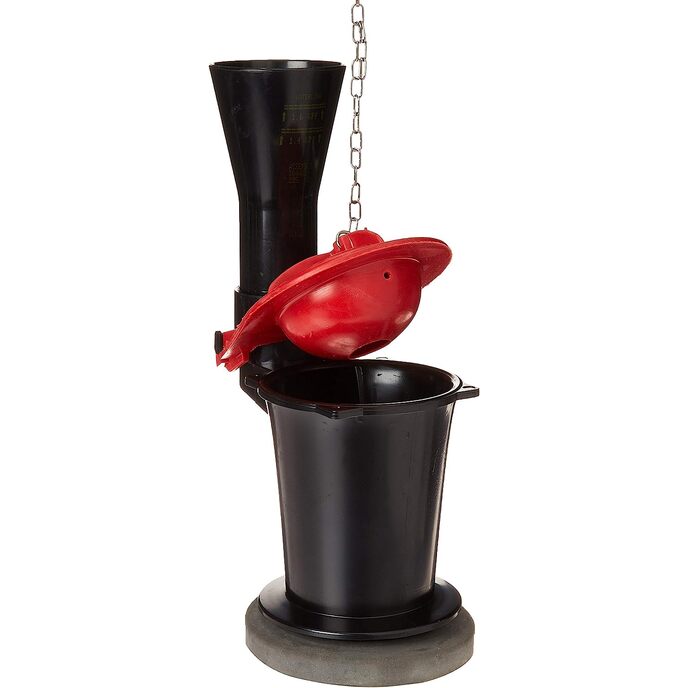
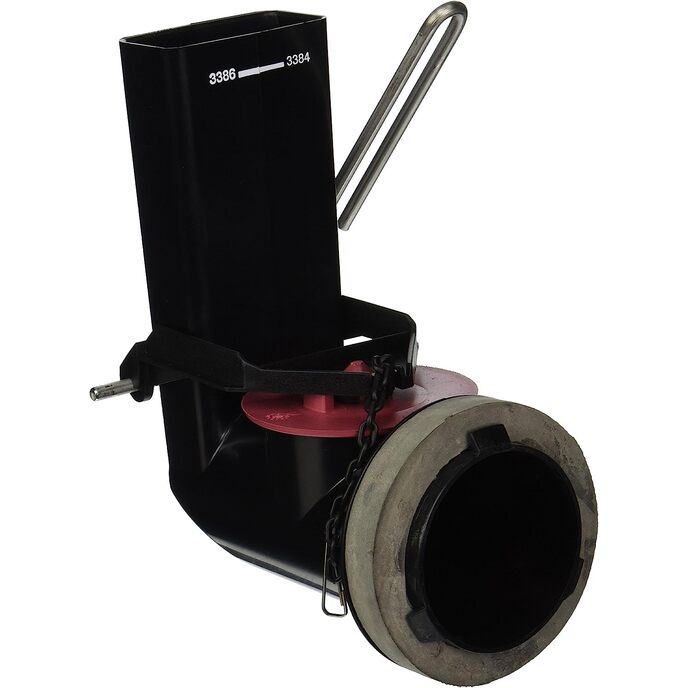
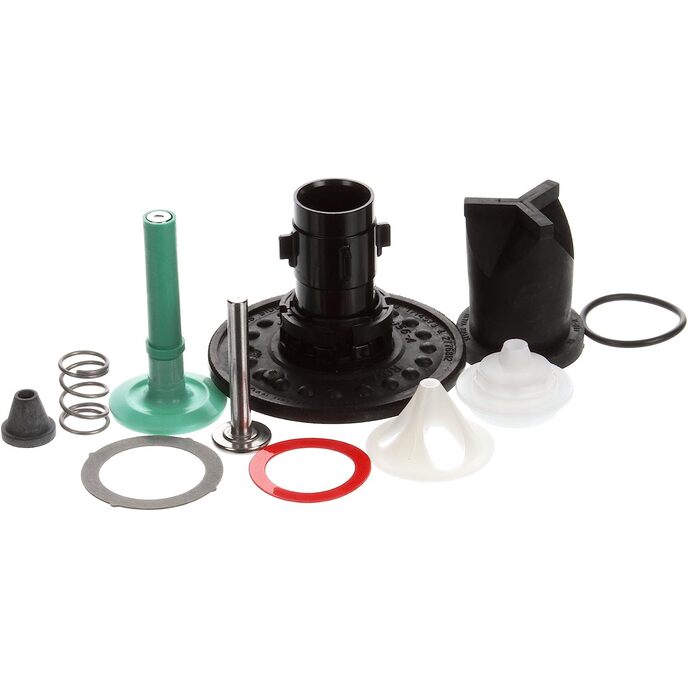
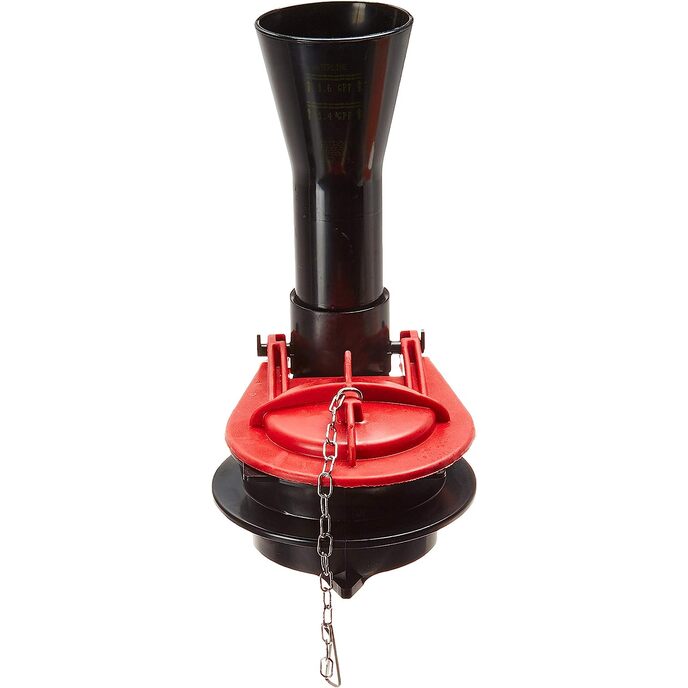
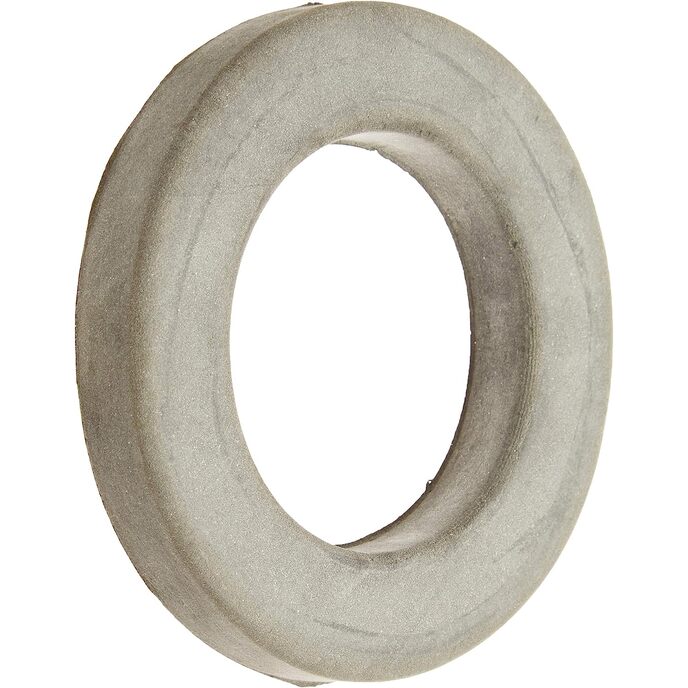
DESCRIZIONE DEL PRODOTTO cerca sempre il logo dei ricambi originali KOHLER. I ricambi originali KOHLER sono progettati dagli ingegneri KOHLER per mantenere le prestazioni originali del prodotto e promuoverne la longevità. DAL PRODUTTORE Parte di ricambio Kohler; 1068622. Il codice articolo 1068622 è un kit valvola di scarico. Kit valvola di scarico Nessuna finitura Parti di ricambio Kohler.

Realizzato con materiali di prima qualità per una maggiore durata. Progettato per promuovere la longevità del prodotto. Kit valvola di scarico di ricambio per vari WC KOHLER.
Batteries Included? ‎No
Batteries Required? ‎No
Brand Kohler
Certification Not_applicable
Certification ‎Not_applicable
Color ‎Unfinished
Country of Origin ‎USA
Customer Reviews 4.4 4.4 out of 5 stars 56 ratings 4.4 out of 5 stars
Domestic Shipping Item can be shipped within U.S.
Included Components ‎Flush Valve Kit
International Shipping This item can be shipped to select countries outside of the U.S. Learn More
Item Dimensions LxWxH 10.25 x 8.5 x 4.5 inches
Item model number ‎1068622
Item Package Quantity ‎1
Item Weight ‎0.32 ounces
Manufacturer ‎Kohler
Part Number ‎1068622
Product Dimensions ‎10.25 x 8.5 x 4.5 inches
Size ‎.3 oz
Style ‎Yes

3.5

10 Review
5 Star
73
4 Star
9
3 Star
9
2 Star
6
1 Star
2

Scrivi la tua recensione

La tua mail non sarà pubblicata. Tutti i campi obbligatori sono segnati con*

Scritto da: Jody
Instructions needed
The part high quality and fits my Kohler Gabrielle toilet. Instructions were not included and they should be in this particular case. I would suggest watching YouTube videos before installing. Before adding the gasket, I had to do a couple of "dry runs" fitting the base prongs into the tank hole because mine needed to be placed in at an angle with a slight turn. I also removed the red bulb for better visibility and attached it last thing.
Scritto da: siesta
Awful DIY but doable
I agree with everything bad you have read about Kohler’s flange design .I tried the hot water- useless , finally had to use the freeze compression-on you tube- and file down the triangle plastic to get it to work .BTW I also vasolined the ceramic underside of the hole-it helped
Scritto da: Bryce
Correct part and easy to install if.....
The item is the correct part for my toilet. I read a number of reviews saying that it was difficult to install. First, try the valve in your toilet without the gasket on it. On my toilet the three tabs really did not fit through the triangular hole. Even when perfectly aligned the points of the tab scraped the sides of the hole and you had to work it it. When actually installing with the gasket and using force to compress the gasket it would be difficult to actually get the tabs exactly right. This is the cause of people breaking the tabs. Use a file to file the points of the tabs down until the valve fits your toilet hole easily. Secondly I read in the reviews hear that Kohler recommended soaking the gasket in hot water for 10 minutes. Do this off of the valve. Finally, rub a small amount of olive oil of the side of the gasket that mates with the valve. This will allow the valve to turn easily once the gasket contacts the rough surface of the floor of the toilet tank. These steps will make installation easy!
Scritto da: Sean Hartnett
Flapper did not seat properly
Scritto da: Tanz65
Worth the price for a perfect fit
This was the exact fit for my Kohl’s toilet. A little pricey for a piece of plastic but it is designed for this model Kohler. Install was a little tricky so…. Soak the foam ring in hot water for a little bit. I also recommend smearing a drop or two of dish detergent on the surface of the foam ring that is in contact with the flush valve so that you can more easily twist to engage the 3 prongs in the toilet. I removed the red flapper prior to install to make it easier. Make sure the prongs are lined up with the toilet tank opening. I did this by lining it up first without the foam ring (dry run). After you’ve done this and remembered the orientation of the unit, apply detergent and install foam on unit. I pushed down (near opening) with one hand while twisting the unit with the other hand. I confirmed the plastic prongs were engaged under the bottom of the tank. Again, be careful not to twist too hard or the plastic prongs can break off.
Scritto da: Sam
compatible with older Kohler tanks
it is exactly matched with what I needed. It is slightly tricky to install it and you may break the three plastic processes.
Scritto da: Amazon Customer
Works great
Solved my problem
Scritto da: Richard
My toilet flushes again! Pooping is again a pleasure!
Good product but somewhat difficult install because the foam seal is somewhat rigid and and the plastic tabs on the side are delicate. I recommend that before install, that you soak the sponge seal first to make it more squishy and installable.
Scritto da: Andy Horvath
Perfect fit.
Replacement part worked perfect and was easy to install.
Scritto da: Raza
Exact match
the flush valve was an exact match .However, initially it did not fit into the tank called the Kohler company and they advised to soak the rubber in hot water for 10 mints.

Prodotti correlati

Scopri il nostro network internazionale

Spediamo in 28 paesi, oltre 200.000 prodotti. Resta aggiornato, iscriviti alla newsletter.

Shopping Cart