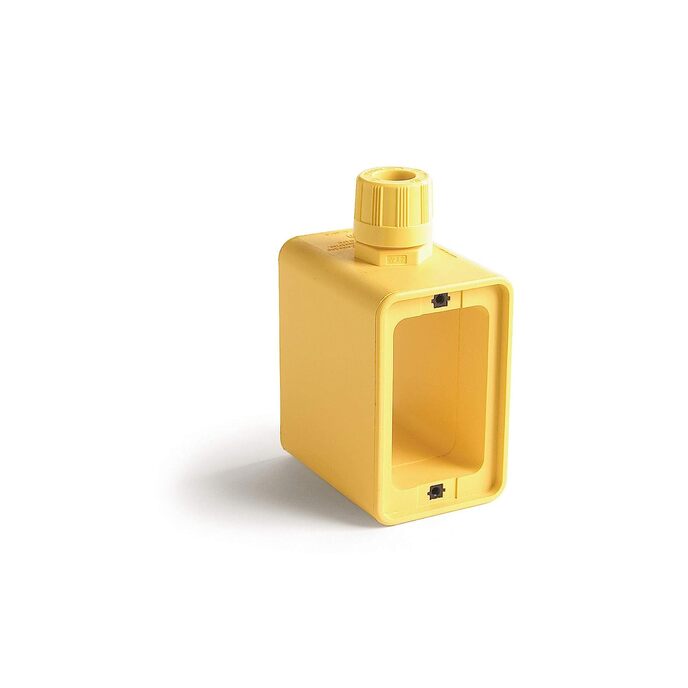
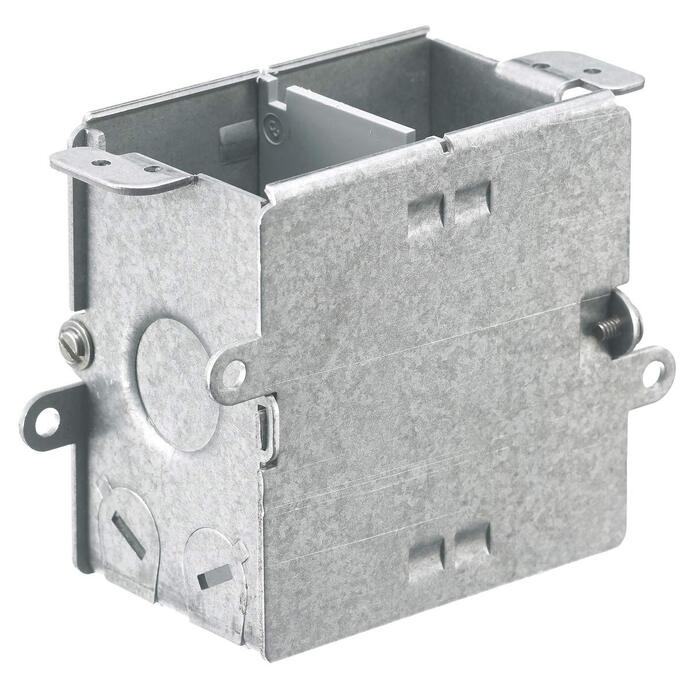

Scatola multimediale Jload da utilizzare con l'uscita multimediale JLOAD
EAN: 0883778113031
Categories: Prodotti industriali e scientifici, Strumenti e miglioramento della casa, Elettrico, Scatole elettriche, condotti e raccordi, Scatole di derivazione,
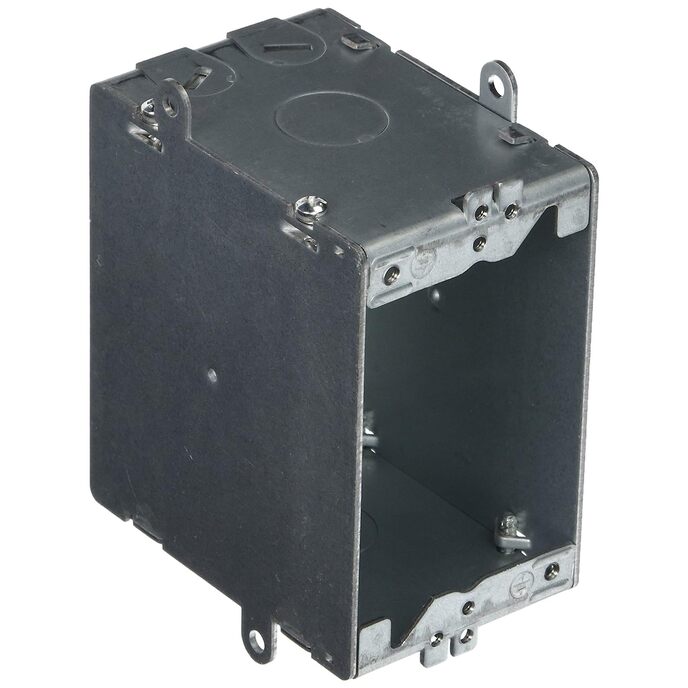
| Brand | Bryant Electric |
| Color | Steel |
| Country of Origin | China |
| Domestic Shipping | Item can be shipped within U.S. |
| International Shipping | This item can be shipped to select countries outside of the U.S. |
| Is Discontinued By Manufacturer | No |
| Item Dimensions LxWxH | 3.48 x 2.32 x 1.4 inches |
| Item model number | RJ600 |
| Manufacturer | Bryant Electric |
| Material | Alloy Steel |
| Product Dimensions | 3.48 x 2.32 x 1.4 inches; 7.2 Ounces |
| Style | Compact |